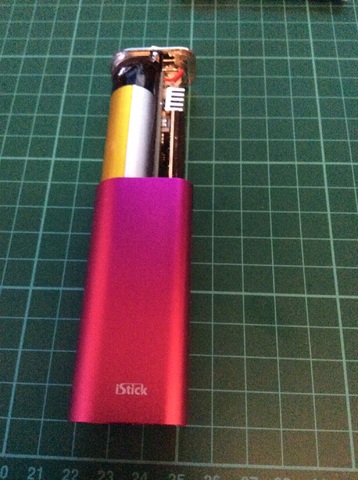
Many people are experiencing failed 510 connectors on the IStick so here's a little guide on how to fix.
Now I've fixed three today so I can't guarantee longevity yet. Before I started all 3 displayed atty short.
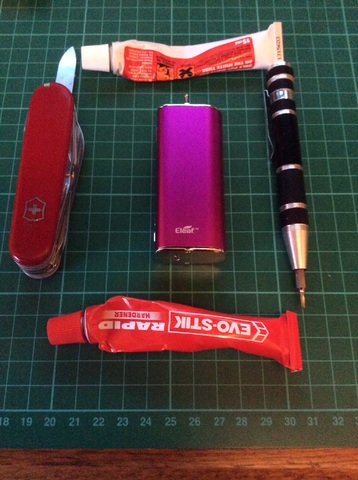
you need very little in the way of tools
1) Evo-Stik Rapide
2) A sharp knife
3) Superglue (Optional)
4) A small Torx screwdriver
Remove the two small Torx screws in the top cap, also remove the two similar screws from the bottom cap

The bottom cap will just come off once the two Torx screws are removed, the top cap is connected to the circuit board so don't try and remove the top cap yet.
There are two black plastic strips that hold the up/down and fire buttons in place
using the blade of a sharp knife (BE CAREFUL) ease the big plastic strip off carefully starting at the bottom by the up down buttons, the strip is only held on with double sided sticky tape. once off the up down button actuators will just fall out.
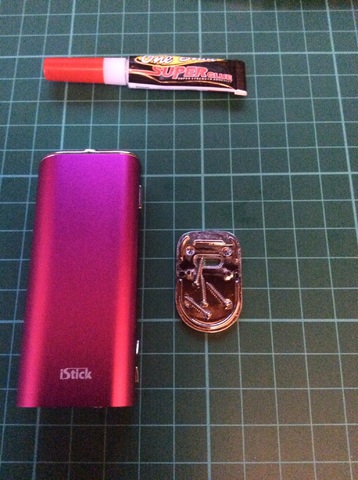
Then use the knife blade to ease out the upper small plastic black strip, once this is removed you can take out the fire button actuator leaving this -
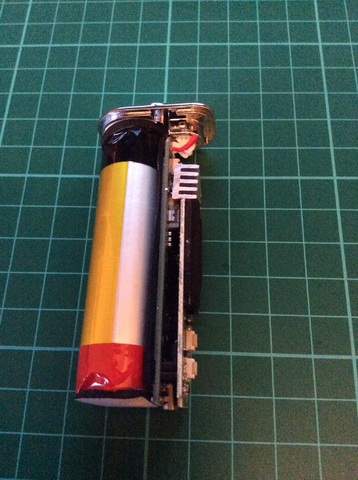
With the buttons removed the battery and circuit board can be pushed out from the bottom along with the topcap
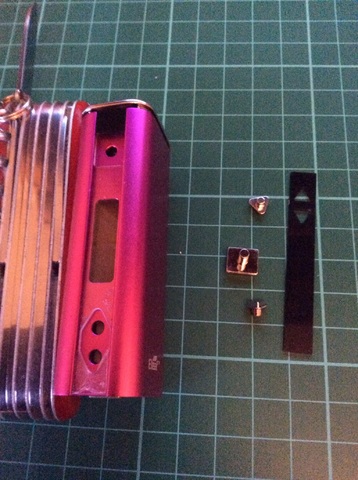
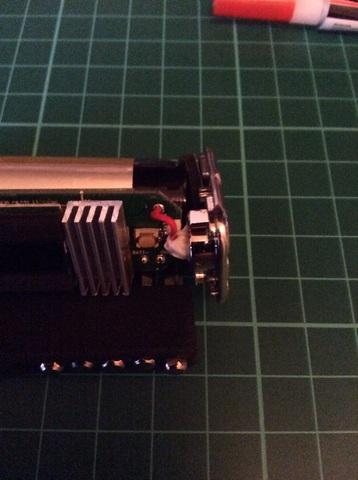
With the internals removed you will see the red wire top right in the photo below, this is the positive connection to the central 510 brass pin. This pin is secured with mastic only and the cause of the mod problems, there's also a wee rubber grommet that isolates the shaft of the 510 connector from the body of the mod 510 hole. It really is quite shoddy !
Using the sharp knife carefully remove most of the mastic from the bottom of 510 connector. Take your time and be careful, do not pull down on the red 510 wire or take all the mastic off. If you do the rubber insulator will fall down and its a nightmare to replace.You just need to remove some mastic so the Evo-Stik can cure onto the bottom of the 510 and the casing, it doesn't need to be mastic free at all.
You just need to remove some mastic so the Evo-Stik can cure onto the bottom of the 510 and the casing, it doesn't need to be mastic free at all.
Screw your atty in place, I used a Nautilus, and switch the device on making sure it fires, I used a blunt mixing needle to operate the fire button. Again be careful here, don't touch anything with your prodded other than the fire switch or you could fry the board, if your unsure use something like a wooden cocktail stick or matchstick.
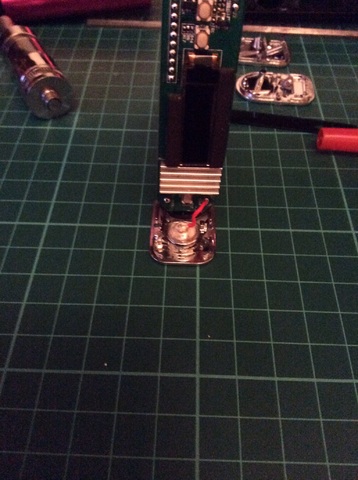
Mix up a small amount of the two part Evo-Stik and then using a small implement, I used a small screw, cover the bottom of the 510 with glue ensuring you cover the whole of the 510 connector and the glue runs onto the metal surround.
Leave for an hour or so and reapply a second coating of Evo-Stik if necessary.
Ideally leave overnight to fully cure.
To rebuild :-
1) Slide the battery, circuit board in from the top of the casing, don't fit screws in the top cap yet.
2) Replace the fire button actuator and then the small upper plastic strip above the fire button, you may be able to reuse the double sided tape for this but I removed it and used a small dab of superglue.
3) Seat the top cap in place and secure the two screws.
4) Replace the up and down button actuators ensuring you get them in the correct orientation.
5) Replace the long black strip which secures all three buttons in place, again I opted for a few dabs of superglue.
6) Replace the bottom cap and secure with the two Torx screws.
If I was doing it again I'd clean all the mastic off the underside of the 510, de solder the positive connection and use a small piece of heatshrink to replace the 510 grommet. I'd also install a decent oring insulator under the 510 brass disc before re soldering the positive connection and applying the Evo-Stik.
Note that once araldited in place all atties might not sit flush or might not even reach the 510. This is why I used the Nautilus to set the 510 depth location before applying the Evo-Stik. You should use the atty you intend to use to set the depth.
Hope this helps some revive their defective iSticks.


