blakey
Super Member
     Ninja Maestro
Joined:June 2011
Posts: 9,206 
Location:
Likes: 4,242
Recent Posts
Last Online Nov 27, 2024 17:26:00 GMT
|
Post by blakey on Jul 27, 2012 13:00:15 GMT
Lets start with the ceramic housing section, you see in the pic all the parts in their correct order From left to right you have the inside ceramic nut, then the ceramic, then the ceramic housing then the plastic spacer, then the center post, then the small locking ring and lastly the bottom o-ring  The nut goes into the ceramic and the plastic spacer goes onto the top of the post  Insert the post into the ceramic and tighten it up, only use a screwdriver to lightly hold the nut in place and then all the tightening should be done from the post itself. Fit the locking ring and o-ring You will end up with this  OK, Thats the ceramic built Next, smear some vasseline into the base and remove the bottom o-ring again  screw the ceramic section into the base all the way down and then unscrew it again, what we are doing here is loosening and lubricating the threads it goes down this far 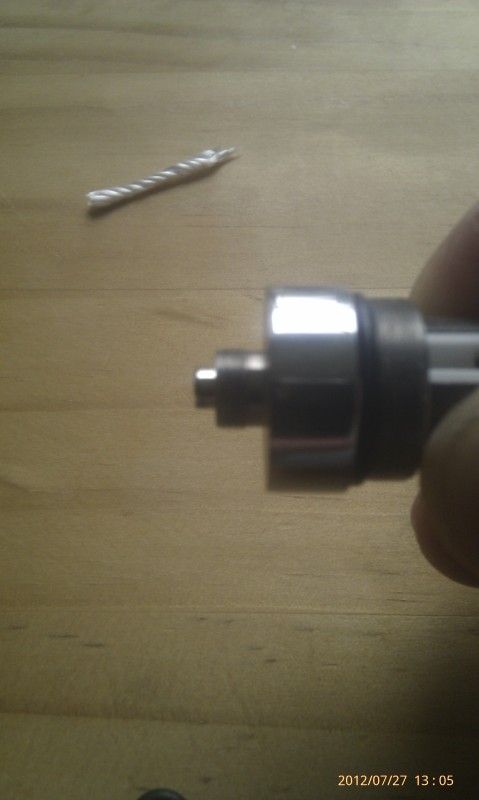 When you have done that take a paper towel and clean out the base. Thats' a job done. In order to not overload the thread I'm going to start another section and carry on |
|
blakey
Super Member
     Ninja Maestro
Joined:June 2011
Posts: 9,206 
Location:
Likes: 4,242
Recent Posts
Last Online Nov 27, 2024 17:26:00 GMT
|
Post by blakey on Jul 27, 2012 13:13:26 GMT
Ok, next we take our wire and join it like all the vids show you  Then we make our coil, nice even turns- not to tight so as to strangle the wick and not so loose that it isn't touching. With the 3mm wick this is what it should look like  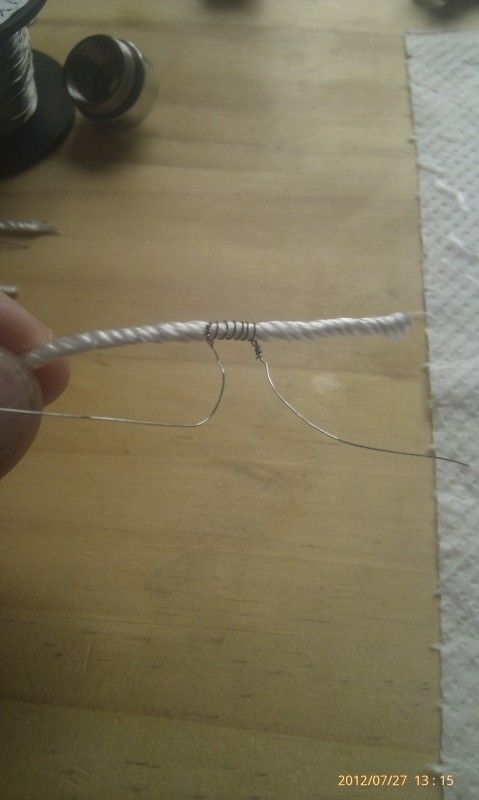 Now we place this assembly into the ceramic like this, make sure that it goes right inside.  Next we make the positive connection, notice the wire runs down the ceramic channel and not the metal one before it connects to the center post. Notice also that the wire is well inside the channel and can't touch anything else  Now the negative wire, notice how it just sits inside the channel but does not protrude further than the bottom, it matters not that this wire touches anything OTHER than the center post 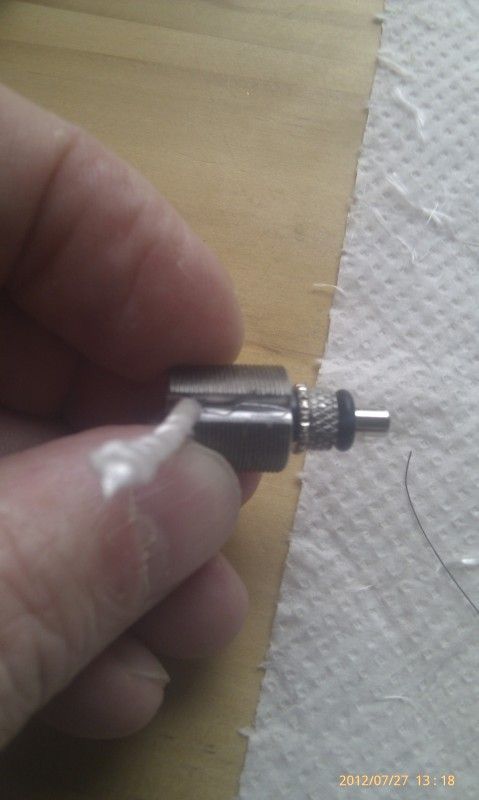 Next we trim the wicks, something like this  Then we put the larger locking ring on to the ceramic housing and screw it down about this far- notice that everything is compact and inside all of it's channels 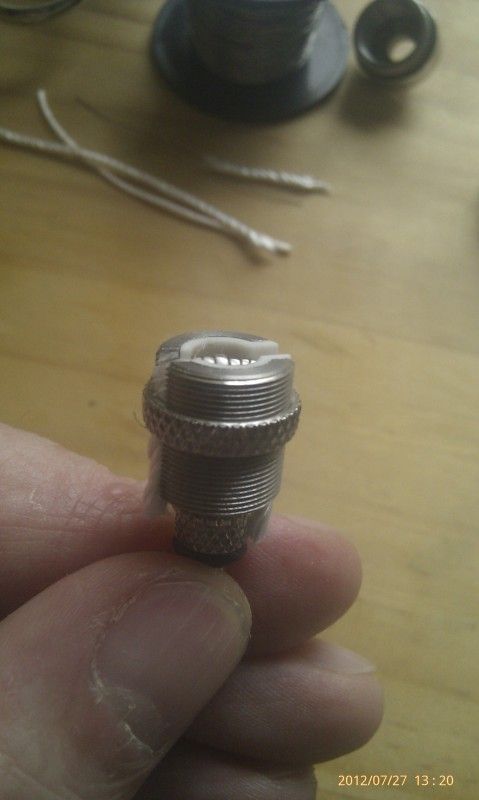 I'll do another thread to again avoid overloading |
|
blakey
Super Member
     Ninja Maestro
Joined:June 2011
Posts: 9,206 
Location:
Likes: 4,242
Recent Posts
Last Online Nov 27, 2024 17:26:00 GMT
|
Post by blakey on Jul 27, 2012 13:36:52 GMT
Ok, now we put the ceramic housing into the base, might be an idea at this point to wet the bottom of the wicks with a little juice to help stop it fraying and catching in the threads of the base. Just screw it down about 3/4s of the way at this pont  Now we put it on the mod we are using , notice that the locking ring is still untightened. At this point add some juice to the wick at the coils. Screw down the ceramic housing whilst holding in the fire button of your mod, keep screwing till you hear the penelope fire up. When it fires, unscrew penelope from the mod a full turn and screw down the ceramic housing one half turn, this will allow some airflow for the draw  Now tighten down that locking ring as hard as your fingers will allow you, as you can see from the vapour it's firing nicely  At this point, if you have the facility, test the ohms of the coil, much easier to re-build or repair from here rather than from a full tank should the need arise As you can see, this one comes in at 1.9ohms  Now coat the wick with juice and screw the mouthpiece all the way down as far as it will go -finger tight is all we are looking for here  Now is prime time to test the draw, take a puff on it and see if the drw is ok for you, if it's too airy the unscrew the ceramic housing a tad and close off a bit of the airflow, if it's too tight then screw down the ceramic housing a liitle more to increase the airflow Once you are happy then screw on the tank and fill her with juice, make sure that the mouthpiece is still screwed down at this point  Lastly the top cap, just screw it down very slowly to avoid an overload of internal pressure which will force juice up the channels and into the ceramic. The one in the pic is only screw half way on, it needs to go all the way down till you feel the o-ring compressing inside  We're done Turn the mouthpiece in an anticlockwise direction about 3/4s of a turn and leave it all for about 30secs for the juice to soak the wicks and then vape away  |
|
blakey
Super Member
     Ninja Maestro
Joined:June 2011
Posts: 9,206 
Location:
Likes: 4,242
Recent Posts
Last Online Nov 27, 2024 17:26:00 GMT
|
Post by blakey on Jul 27, 2012 14:16:36 GMT
Excellent instructions Blakey. Penelope has just arrived and these will come in very handy later thanks. You're an experienced wick/coil maker steve may I suggest this 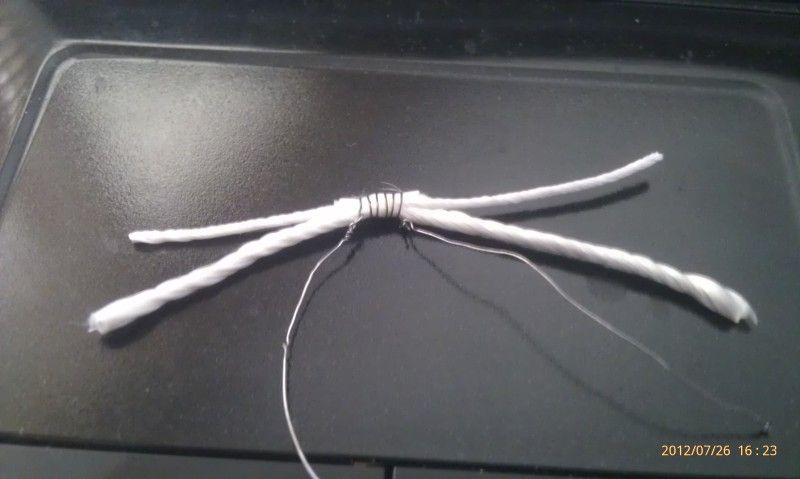 A 2mm wick A 1mm wick to make the 3mm for the channels and then A 2mm small buffer section at the coil Drinks juice but WOW  |
|
blakey
Super Member
     Ninja Maestro
Joined:June 2011
Posts: 9,206 
Location:
Likes: 4,242
Recent Posts
Last Online Nov 27, 2024 17:26:00 GMT
|
Post by blakey on Jul 27, 2012 15:21:11 GMT
Can I suggest when you make your twists that you do this  To achieve this  It allows for the use of less wire and much shorter connections  |
|