Been working on this guide for awhile now, it's a much more detailed version and more upto date.
Do you think i should replace this guide for the old one here:
allaboute-cigarettes.proboards.com/thread/32391/microcoil-cotton-guideIt would just be a simple copy and paste.
Or create a new post, the only thing that bugs me with that is i don't really want two posts about the same thing.
So i have come here to ask the question as at the end of the day it will be you the members who's using the guide.
Anyway enough rambling on here is the new guide:
This guide is based on building a Kanger heads which are used in Protanks/Evods/Davides etc etc
Please note this guide is based on what tools I use, there is also
Greigster coiling buddy tool, thread for the tool can be found
here or
hereMaking a MicrocoilParts needed:Mandrel ( Can get one
here size small )
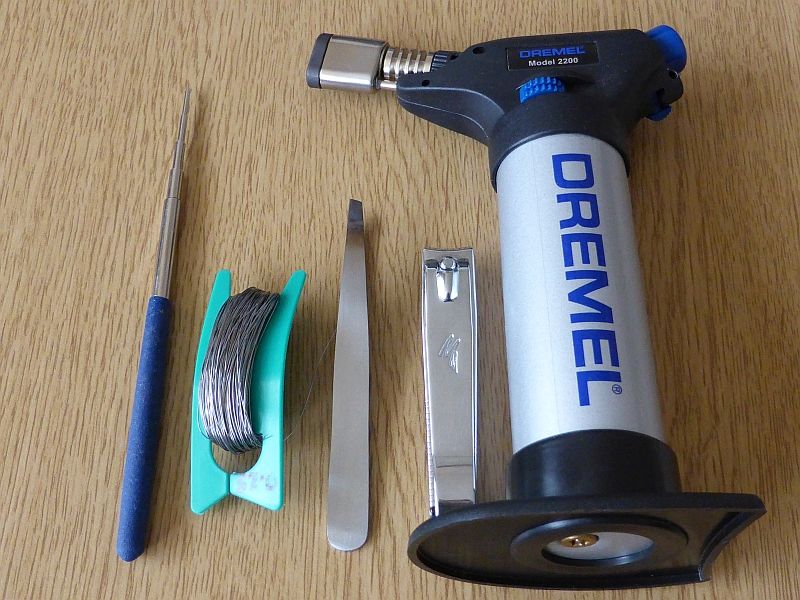
0.25 Kanthal
Flat nose tweezers
Toe nail clippers
Blowtorch for flaming the wire
 Step 1: Cutting Kanthal
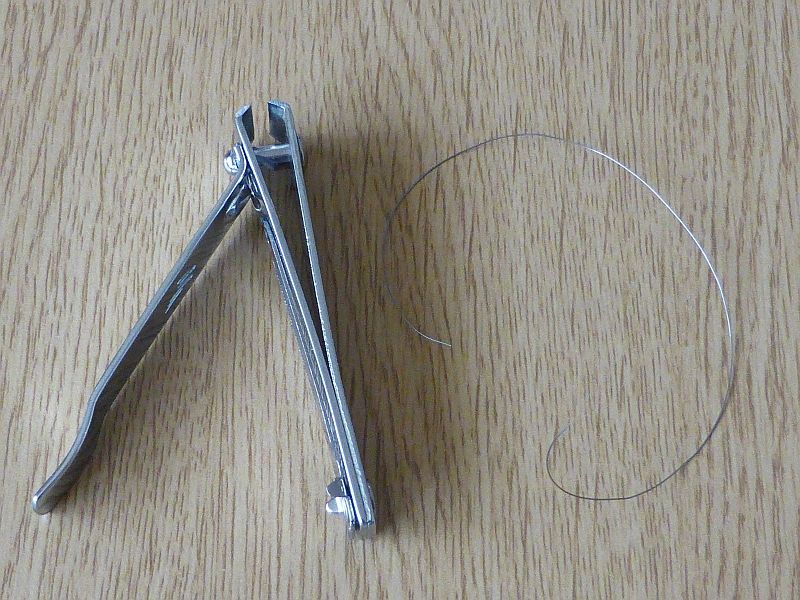
Using the nail clippers cut a piece of 0.25 Kanthal at about 20cm/200mm
 Step 2: Flaming the wire
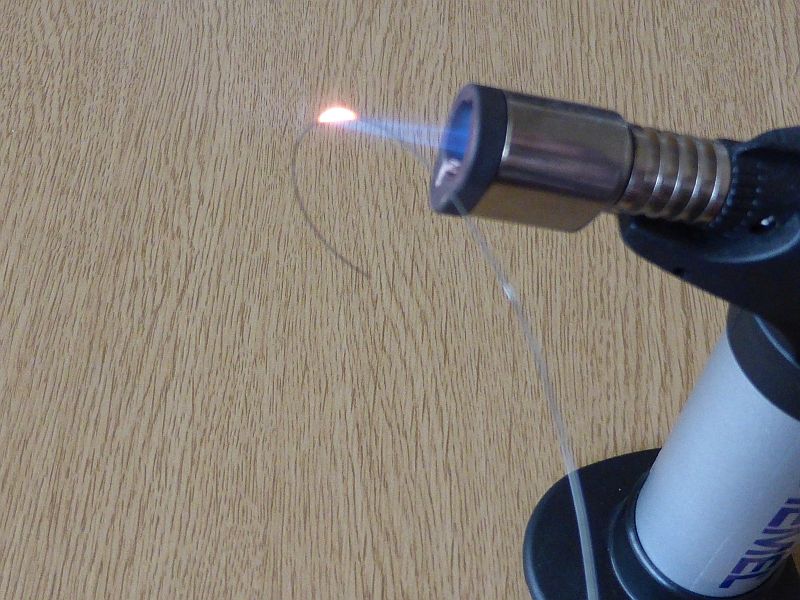
This is optional but doing it makes the wire less springy and easier to handle, hold one end of the wire and run the blowtorch along the wire slowly (from one end to the other) so the wire changes to a orange colour along the way.
 Step 3: Holding and positioning the mandrel
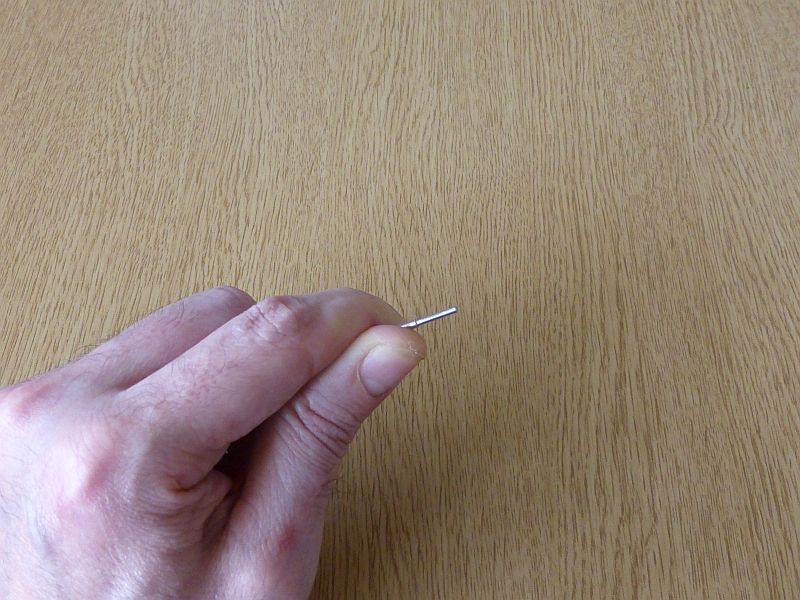
This is based on me, how you hold yours is down to you, with my left hand I hold 90% of the mandrel with the three last fingers and my index finger and thumb being the last to hold it for more strength and stability which leaves just the other 10% of the mandrel showing, this is the 1.5mm part of the mandrel.
 Step 4: Holding your wire
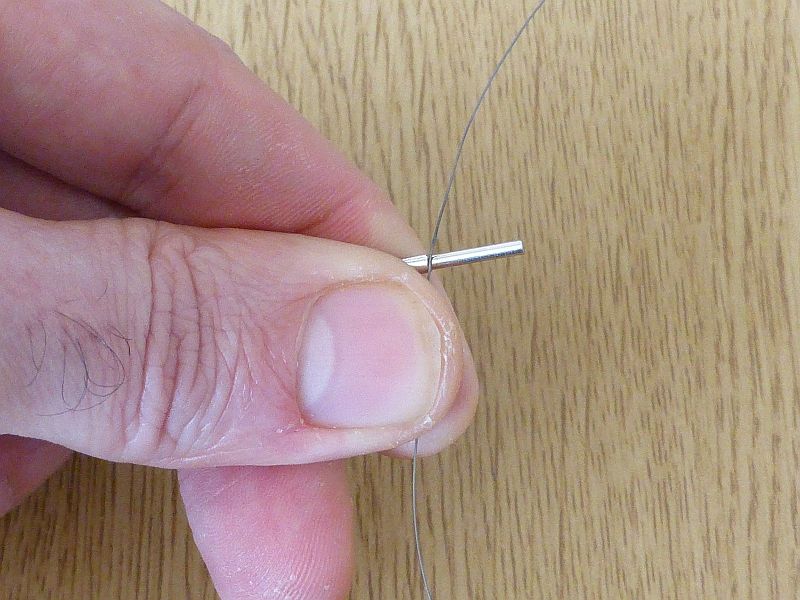
Get your wire and one end of the wire facing vertical hold the wire against the mandrel with your index finger and thumb making sure there is at least 5cm/50mm of the wire facing vertical downwards from the mandrel and the rest of the wire facing vertical upwards from the mandrel.
 Step 5: Wrapping the coils
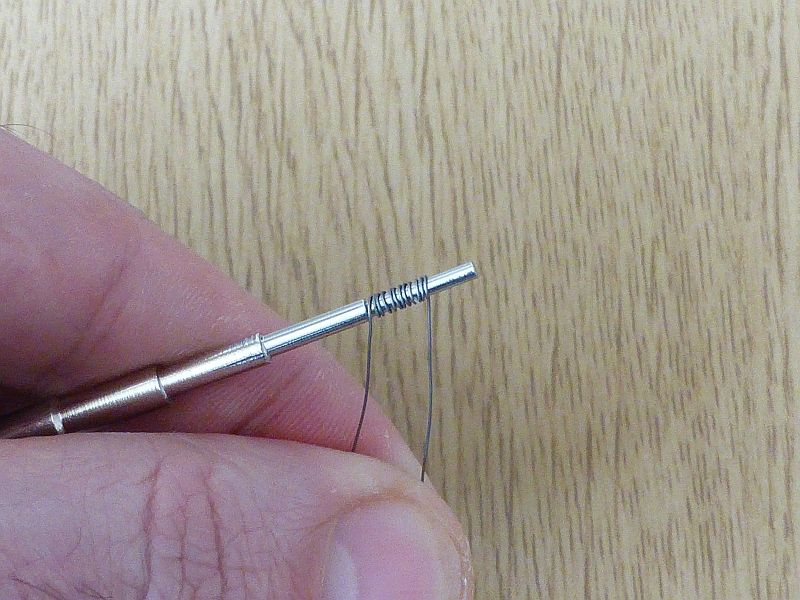
Now that you are holding the wire in place with your index finger and thumb start wrapping the coil around the mandrel, when doing this hold the beginning of the wire tight and start wrapping the vertical upwards wire around the mandrel making sure you keep the wraps as close to each other as possible.....you are looking for a total of 11 wraps to give you a 2.0ohms coil, when finished wrapping the vertical upwards wire the end of the wire should now be facing downwards with the other downwards vertical wire.
 Step 6: Tightening the coil
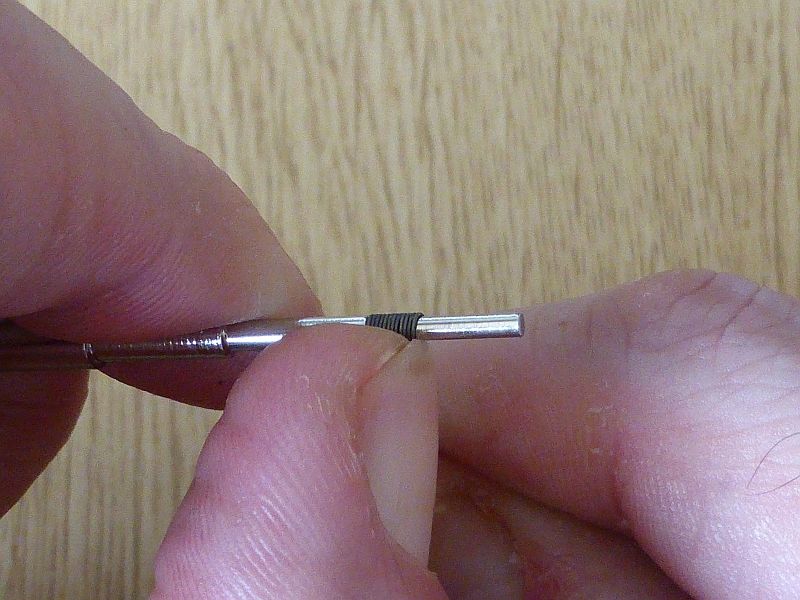
Now that you have your eleven wraps of coil around the mandrel your next step is to tighten the coil, you will probably notice that the coil wraps have gaps, with your right hand pull and hold the legs of the wire and using your left hand thumb use your nail to scrunch/push the gaps of the wire closer and tight.
 Step 7: Removing the coil from the mandrel
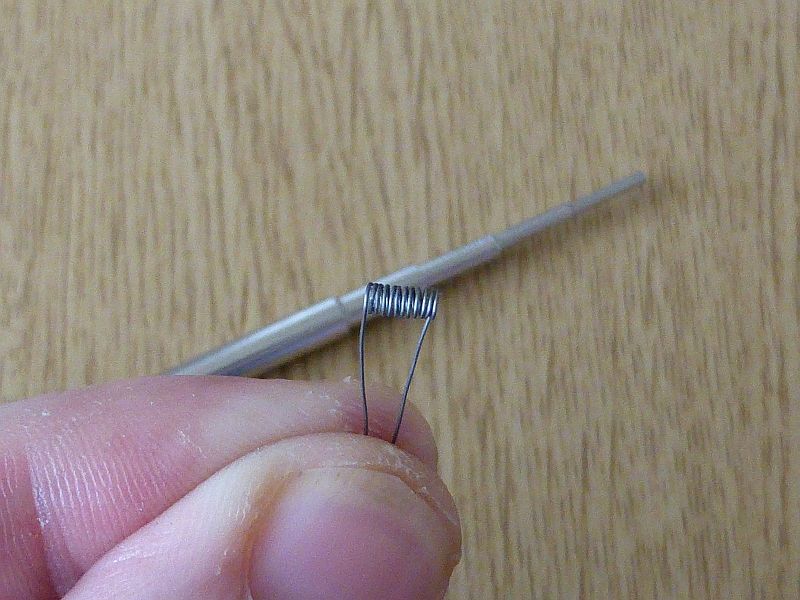
Now that the coil has been made and the gaps of the coil have now been tightened it's time to remove the coil from the mandrel, to do this simply whilst still holding the legs with your right hand index finger and thumb slide the coil off the mandrel and at the same time keep holding the legs, do not let go of the legs as the coil will spring open.
 Step 8: Preparing the coil for flaming
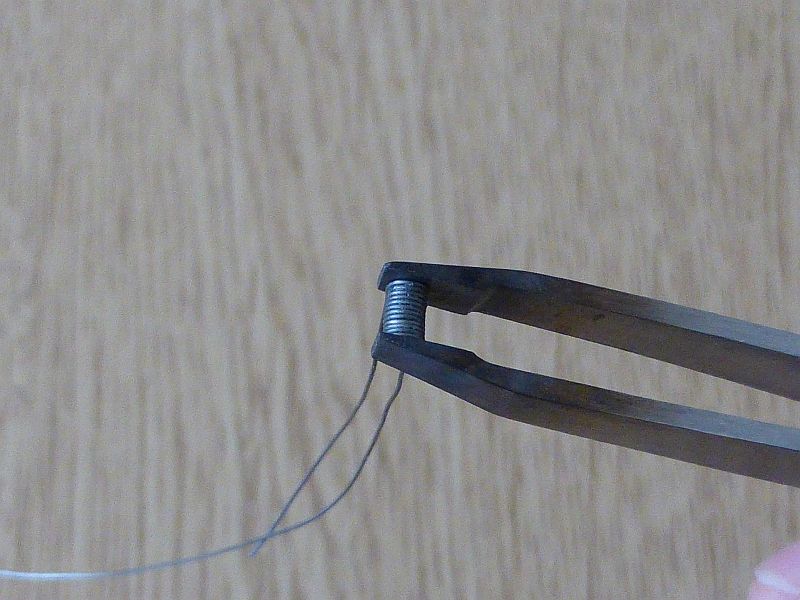
Flaming the coil causes the individual coils to stick together, so now that you have the coil legs in your right hand index finger and thumb put the mandrel aside and then whilst still holding the legs swap the coil to your left hand and get your flat nose tweezers in your right hand and place the coil between the end of the tweezers end and grip and hold tight.
 Step 9: Flaming the coil
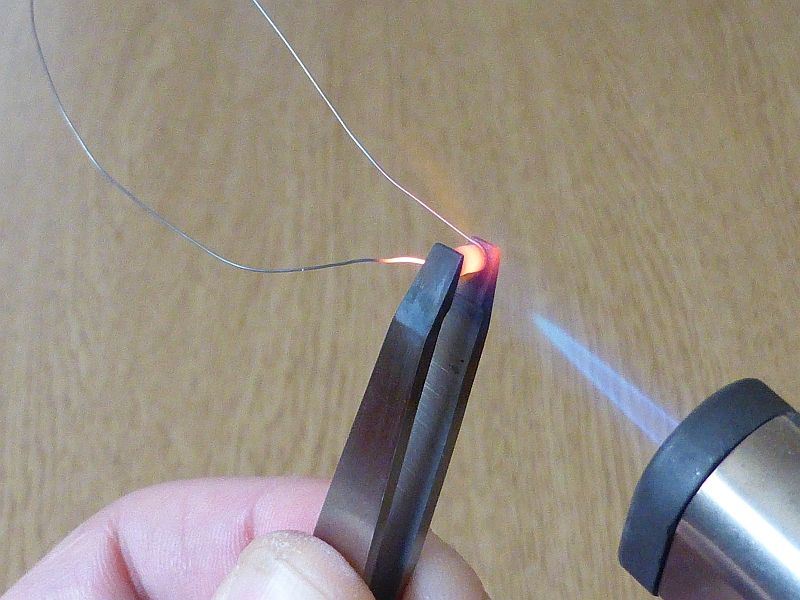
Whilst still holding the coil with your tweezers power up your blowtorch, you want to be using the inner part of the flame which is it's hottest part and flame and heat up the coil until it's red hot, keep it red hot for about 3-5 seconds and then stop and whilst still holding the coil with your tweezers leave to cool down for about ten seconds.
 Step 10: Finished coil
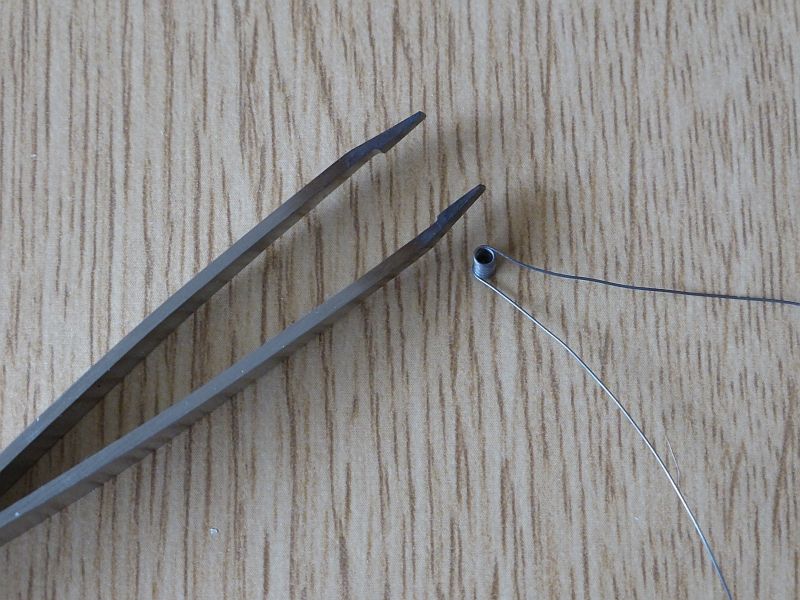
Once it's cooled down you can now release the coil from the tweezers, you now have a finished the coil.
 Step 11: Trimming the finished coil
You may notice that one of the legs is way longer than the other leg, just trim it down with your nail clippers, clip it so it's about 2cm longer than the shortest leg, this makes it more easier when fitting the wires into a head as the longer leg goes first then the shorter leg goes second.
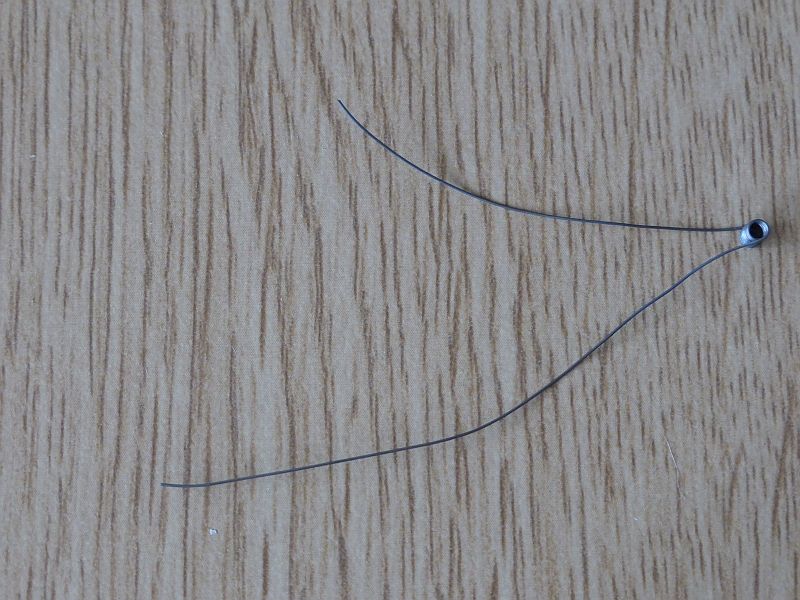 Congratulations, you now have now made your microcoil!!
Building a HeadParts needed:Cotton wool
Toe nail clippers
18 Gauge needle
Needle nose tweezers
Ohms reader or a mod that can read coil resistance
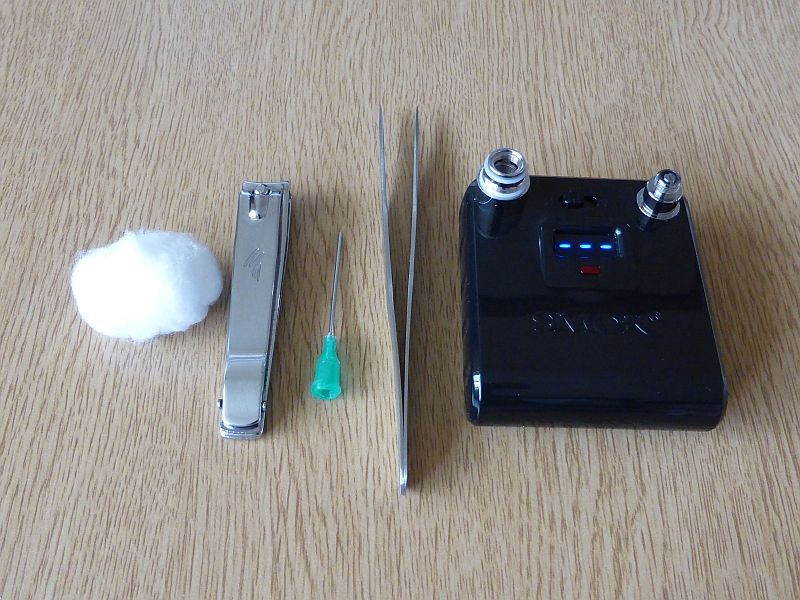 Step 1: Preparing the coil to be fitted to the head
Get you newly made coil and slide the 18 gauge needle through the centre, now with the longest leg of the coil feed it through the centre of the head part then followed by the shortest leg.
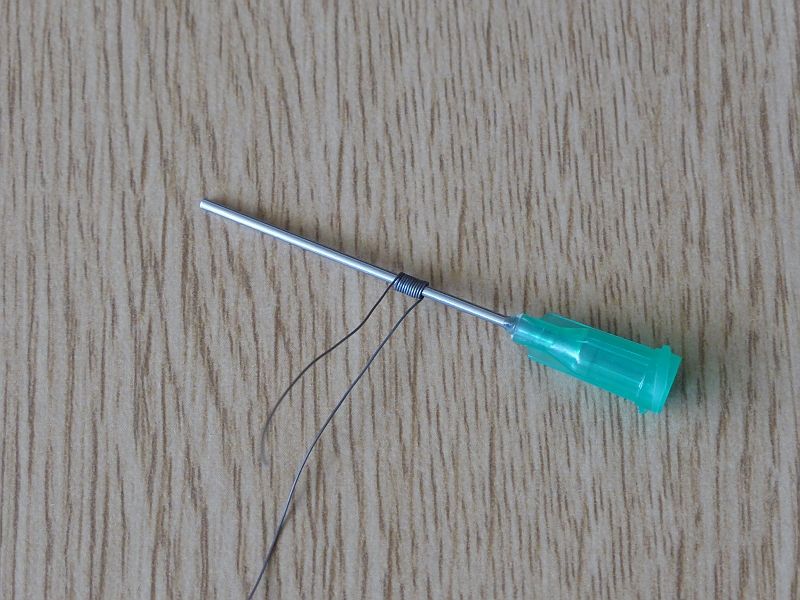
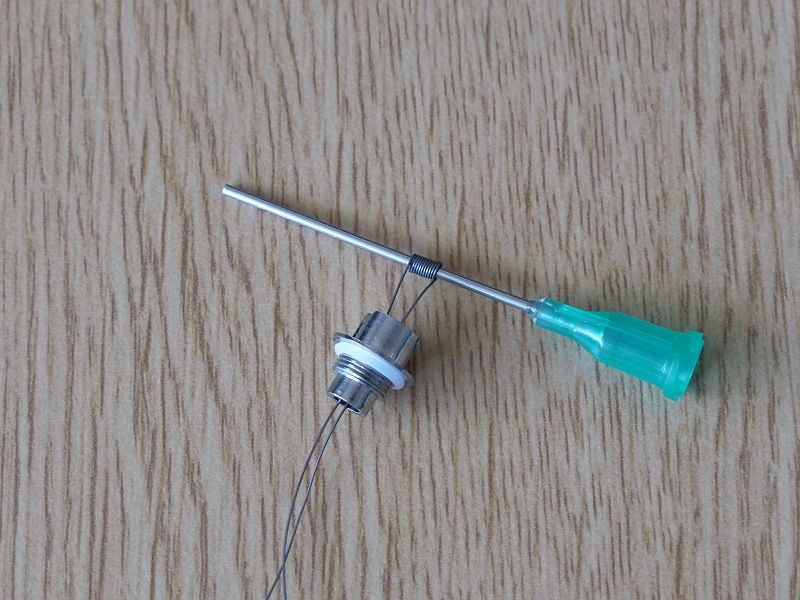 Step 2: Getting the coil to the bottom of the head
Pull the legs of the coil forcing the 18 gauge needle to reach the bottom of the slots of the head.
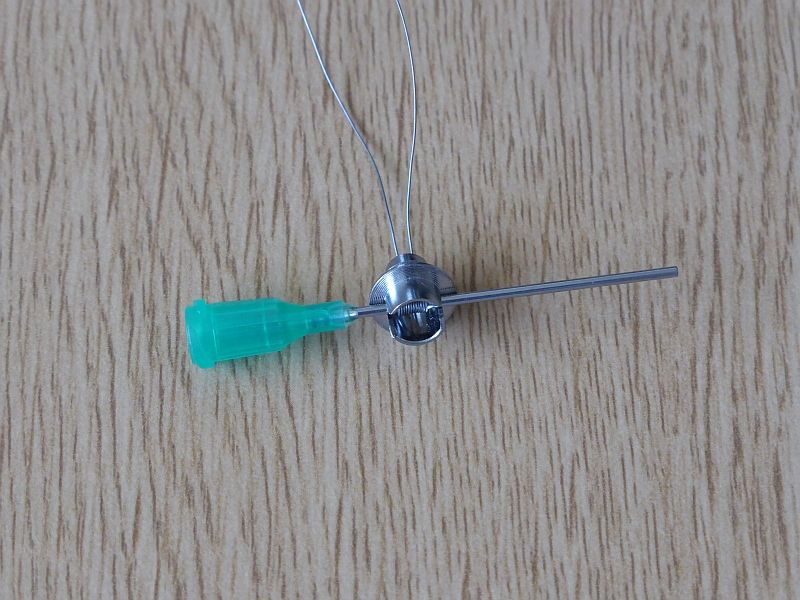 Step 3: Folding the first leg
Whilst still pulling the legs get either one of the legs (does not matter which one) and pull and fold over the bottom edge of the head.
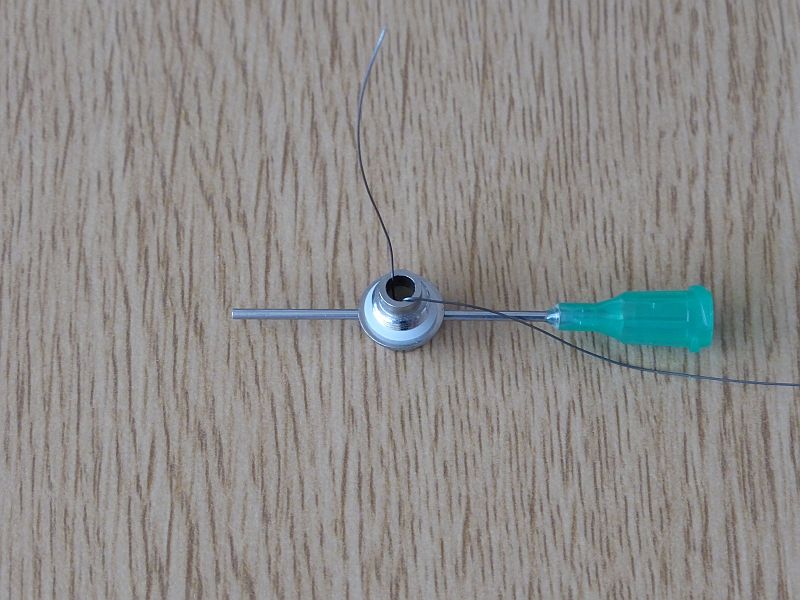 Step 4: Fitting the rubber grommet
Now with the other leg that has not been bent over slide your rubber grommet over it and fit into place using the needle nose tweezers.
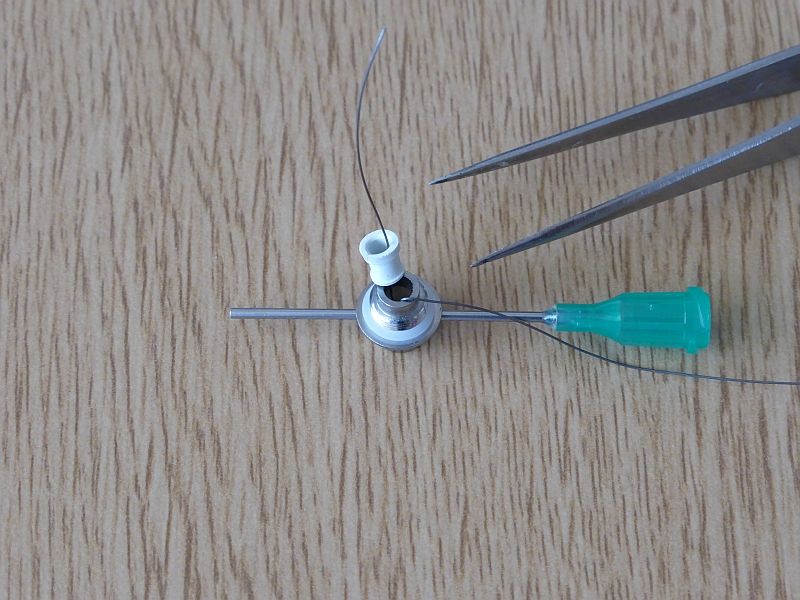
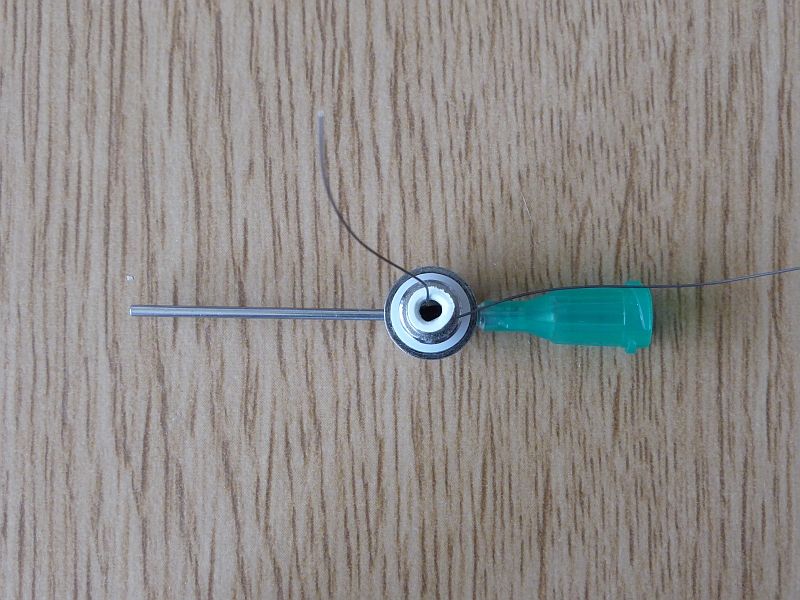 Step 5: Folding the second leg
Now that the rubber grommet is in place bend the other wire over the bottom edge of the head.
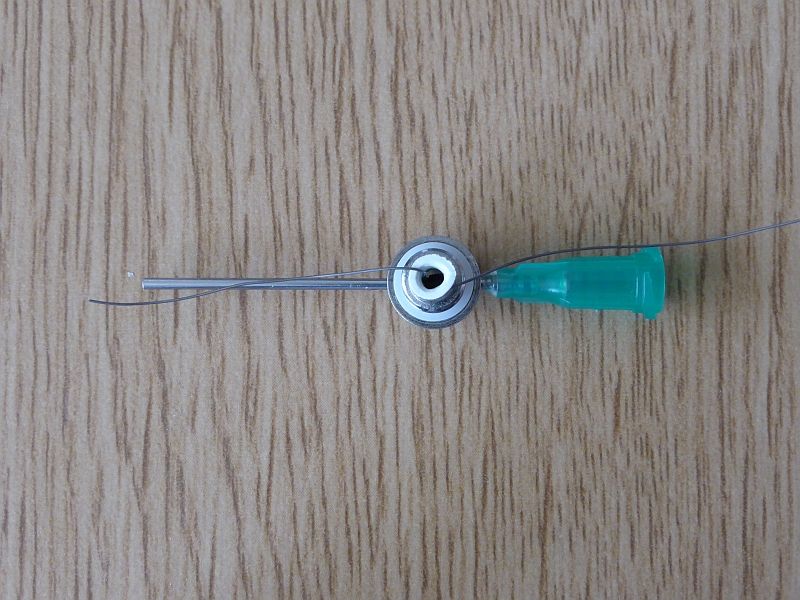 Step 6: Fixing the centre pin
Get the centre pin and push and fix into place.
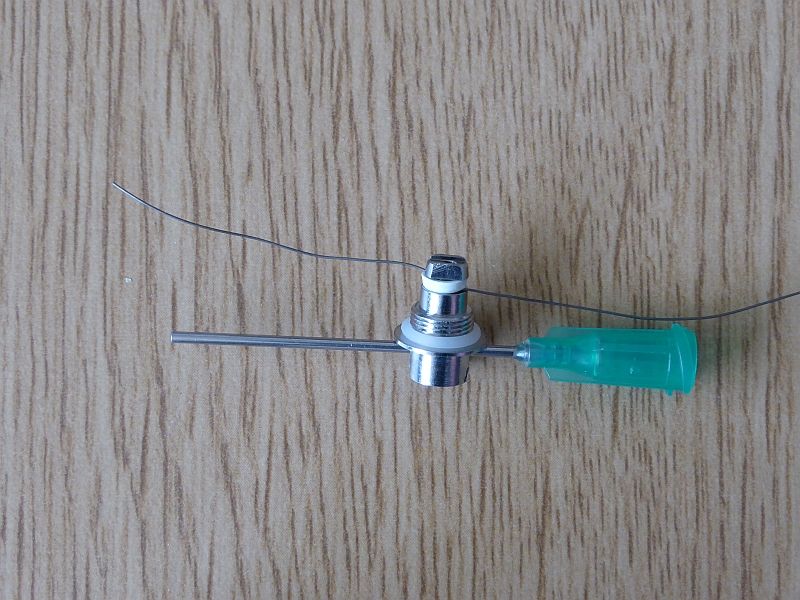 Step 7: Snapping the wires
Now that all wires are fixed in place it's time to trim the wires, choose a wire of your choice and hold the end of it and spin the wire around ( like a washing machine motion) and after around 5-10 spins the wire should snap giving a nice clean cut at the head of the base, do the same for the other wire.
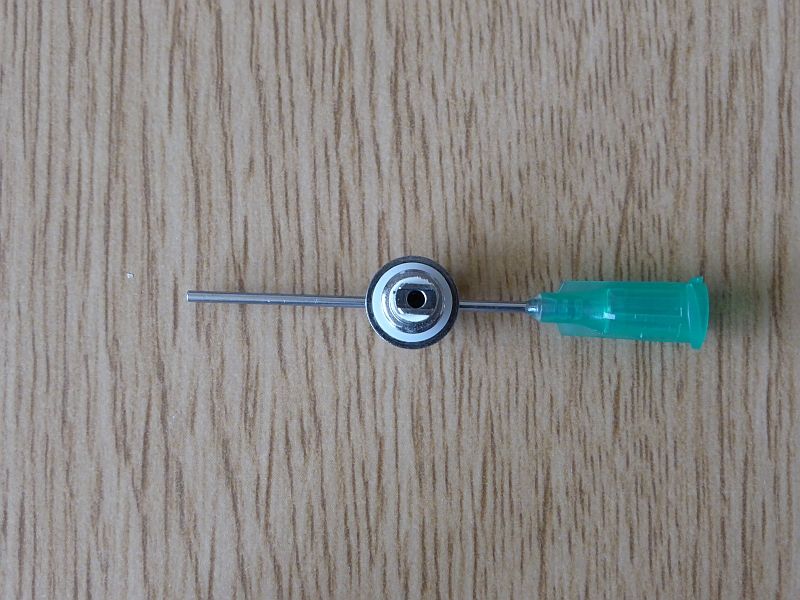 Step 8: Trimming the wires
Make sure both snaps of the wire have a clean snap and you can barely see the snap, if they ain't then trim with the nail clippers until they are, if the wires our sticking out you may damage your battery as the positive/negative wires are connecting (you don't want that).
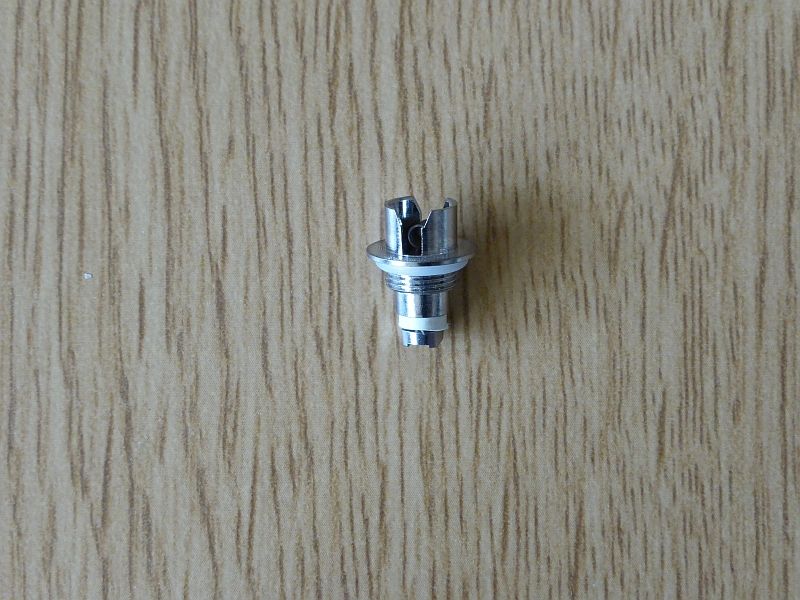 Step 9: Preparing the cotton
Now that the coil is now safely fitted you are ready to prepare the cotton, tear some cotton from the bud, you want a thin shear of it, not to thin as this can be adjusted after if it is too thick.
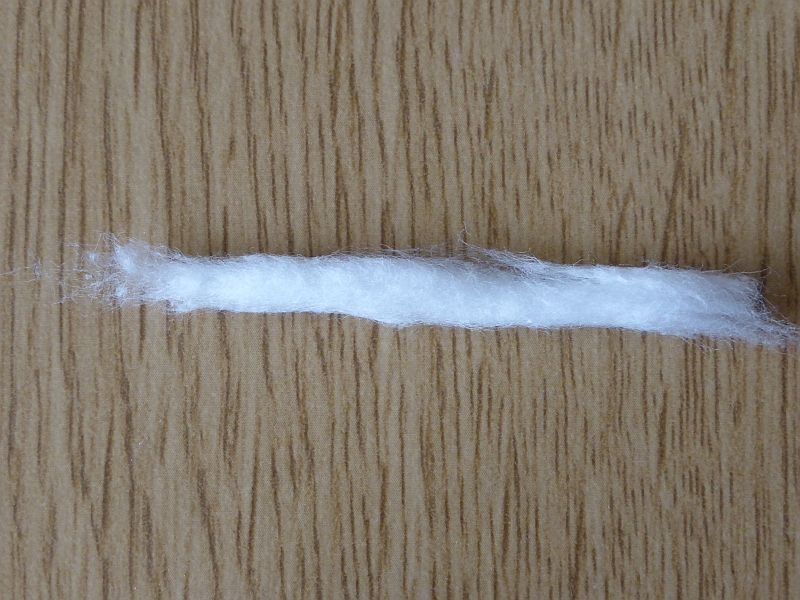 Step 10: Adjusting the cotton
With your thumb and index finger roll the cotton into a stick, (don't compress it, you want it 50% fluffy and 50% compressed) you also want it to be very thin at one end so it's easy to feed though the coil and the remaining of the cotton to be around 1.5mm thick.
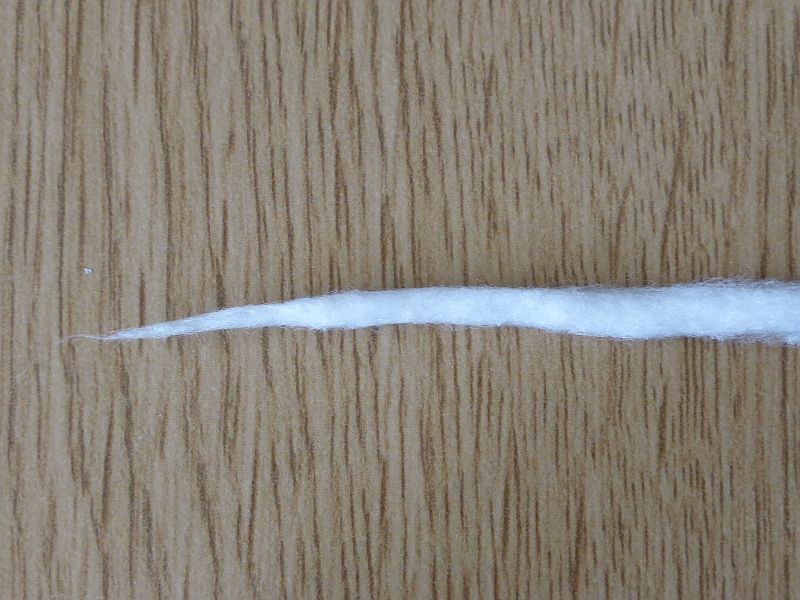 Step 11: Fitting the cotton
When fitting the cotton it should be not too hard and not to easy to thread through the coil, too much cotton is not good and too less is not good either, you want a good balance.
Now that you have your cotton stick it's time to fit it into the coil, wet the thin end of the cotton with your fingers and start threading the cotton through the coil, a twisting motion helps if the cotton gets jammed/stuck...keep pulling the cotton through until you have a even wick.
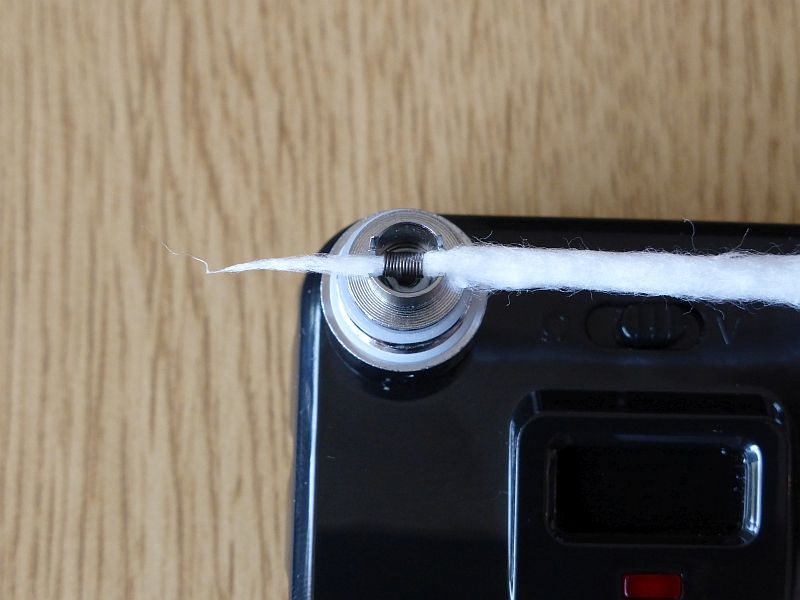
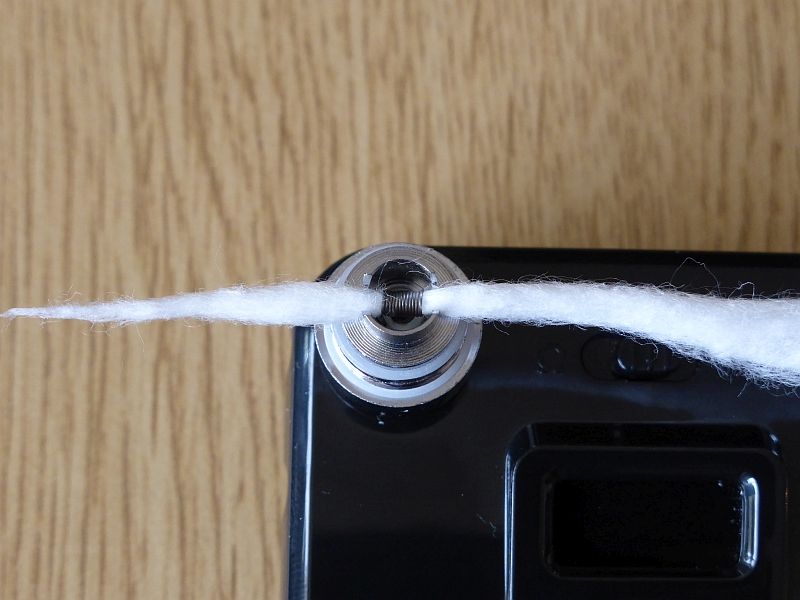 Step 12: Is the coil after fitting the cotton in a central position
If after feeding your cotton wool through the coil you may find that you have moved the coil out of place slightly due to pulling the cotton through, if this has happened get you needle nose tweezers and centre the coil by placing the tweezers on the edges of the coil and then moving it back into it's correct position, dead centre of the head.
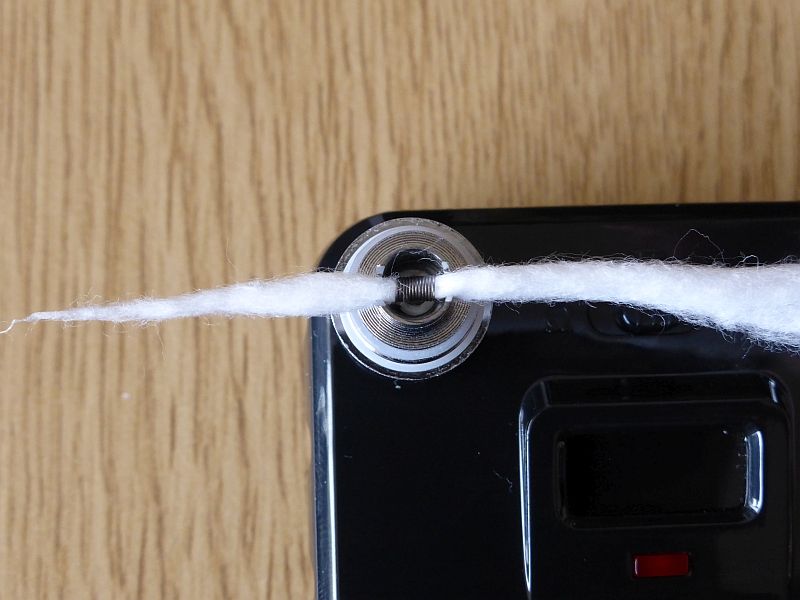 Step 13: Trimming the cotton wick
Almost done, all that is left now is to trim the cotton wick ends, get your nail clippers and trim the ends of the cotton, the trim should be to the edges of the head rim, make sure the ends are not sticking out around the head rim.
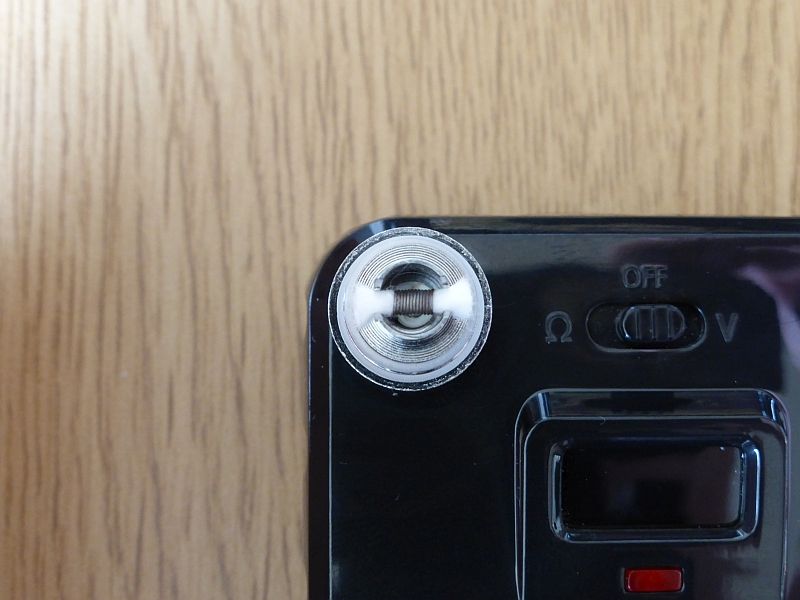 Step 14: Final adjustments to the wick
You are almost done now, all you need to do now is fit the centre tube into place securely and then fit the rubber grommet on top securely.........once this has been done fluff up the ends of the cotton to block of any gaps there maybe.
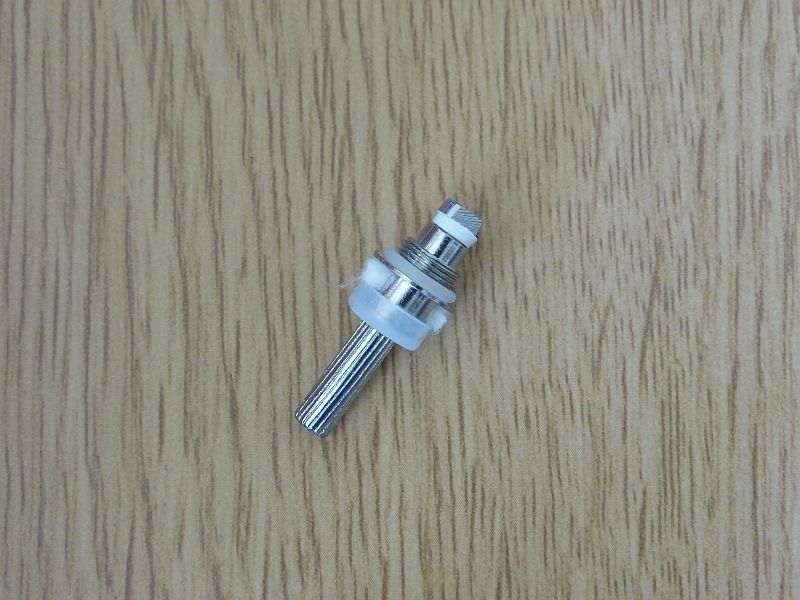 Step 15: Final check
Now check your newly built head in a ohms reader or a mod that can read coil resistance to make sure all is working as intended.
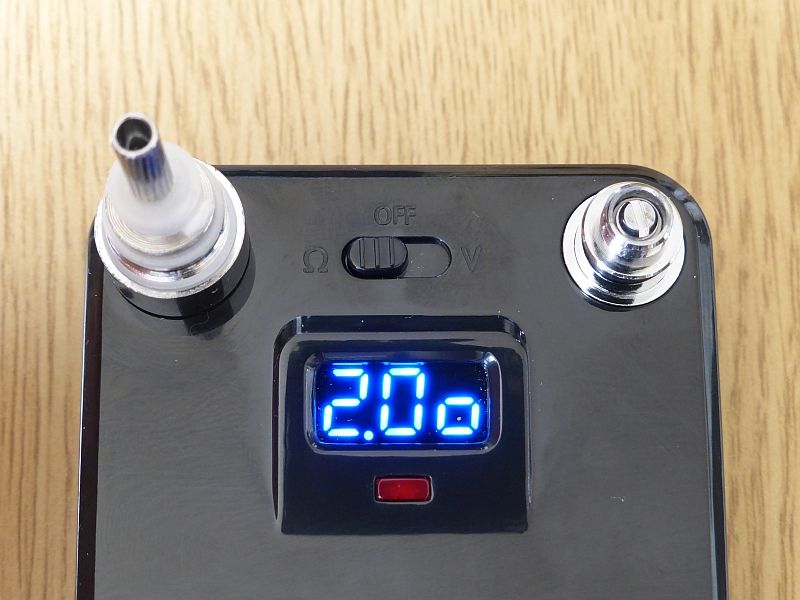 You are now done, enjoy your newly coiled head.