Gordy
Super Member
    
Joined:September 2011
Posts: 11,515 
Location:
Likes: 100
Recent Posts
Last Online Feb 15, 2013 0:28:19 GMT
|
Post by Gordy on Aug 20, 2012 3:37:52 GMT
Blakey's tutorial - how to rewick Mini Nova / Vivi NovaOk, this is the mini nova but it's exactly the same attie as the full nova and the same design of attie in the rebuildable vision. First we unscrew/dismantle the the whole thing  Next we unscrew the attie from its center post  Remove the top rubber seal/bung from the attie and you will be left with this, note the center metal pin 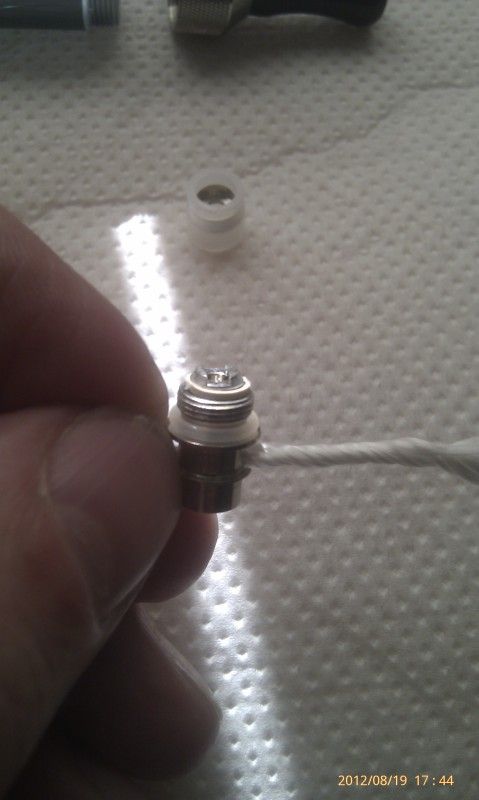 Now using your finger nails get under the edges of that center pin and prize it out  Now remove that bottom rubber bung and don't lose the bugga  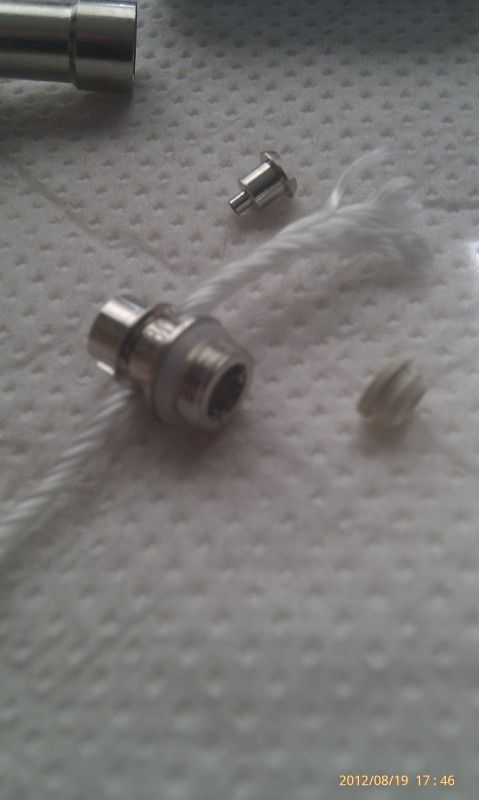 Now just pull the wick out and you'll be left with this, note the wick and coil are inside a heat resistant shield- the shield will harden and fall apart over time but isn't a necessary component. It just makes it a lot harder to get a short with wires touching the sides of the attie. 
|
|
Gordy
Super Member
    
Joined:September 2011
Posts: 11,515 
Location:
Likes: 100
Recent Posts
Last Online Feb 15, 2013 0:28:19 GMT
|
Post by Gordy on Aug 20, 2012 3:38:35 GMT
Remove the wick from the shield by simply pulling it out 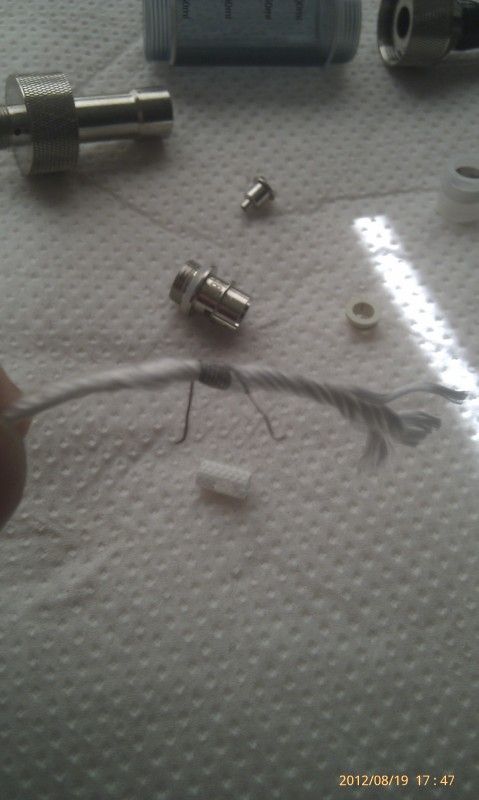 We can use this to cut the new piece of wick to size by measuring them together 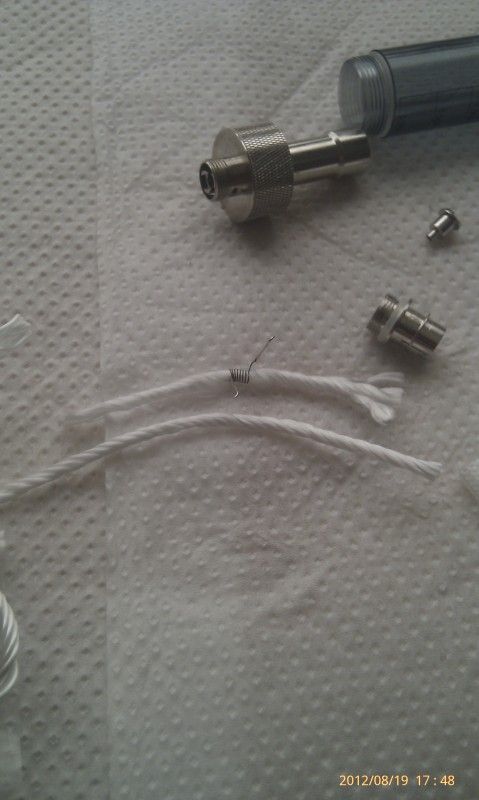 This is what I'll be using, .15 kanthal for the resistance and .2 nickel for the no-resistance- I must state here that the no-resistance wire is optional and not needed but if you look at the atties design you have resistance wire that glows orange hot in contact with the silicon bung, I prefer not to vape that result  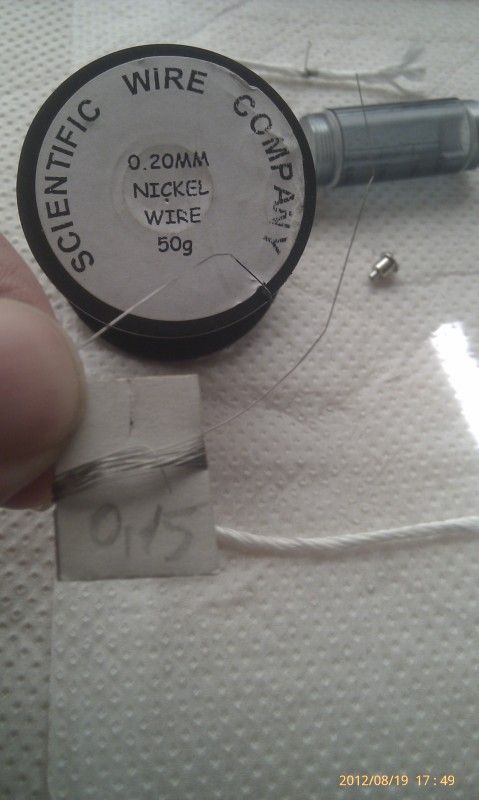 3cm of resistance wire should give me about a 2ohm coil, flanked either side is the no-resistance wire, notice they're only small pieces- that's all you really need  If you use tweezers to make the join then it's all very neat and joint sizes are kept to a minimum vastly reducing any chance of shorting due to touching wires  This is what you should get  Here's the finished job  |
|
Gordy
Super Member
    
Joined:September 2011
Posts: 11,515 
Location:
Likes: 100
Recent Posts
Last Online Feb 15, 2013 0:28:19 GMT
|
Post by Gordy on Aug 20, 2012 3:39:16 GMT
Whenever I use .15 guage wire I always use a pin as a splint because it's very easy to strangle the wick by winding it too tight, the pin also makes life a lot easier when you come to assemble the set up into the attie 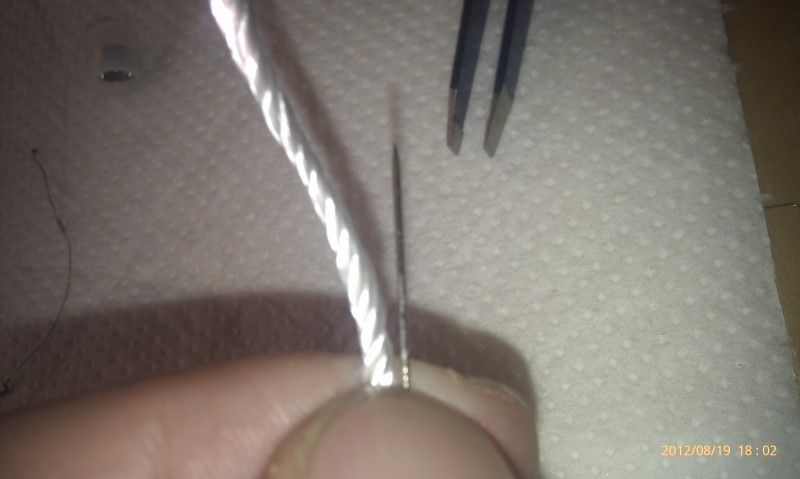 Wrap your coil in the normal way and insert the set up back into the heat resistant sleeve 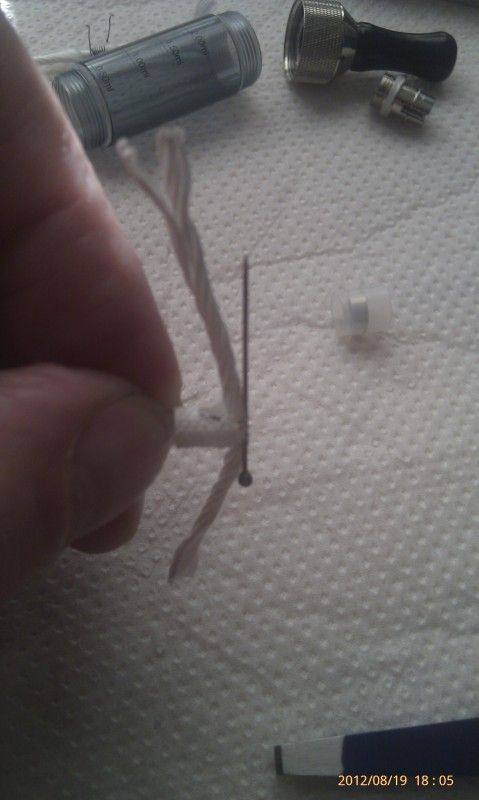 Now we need to thread the whole thing into the attie housing like this, keep them trailing wires straight cos this is blooming fiddly. This is where that pin comes in handy to keep it all rigid  When it's in it should look like this, bend those trailing wires over like this to secure your work  Next we take that silicon bung and put it over ONE of the wires, any one will do- just take your pick  And push it back into the attie housing making sure the wire is still running through it.  |
|
Gordy
Super Member
    
Joined:September 2011
Posts: 11,515 
Location:
Likes: 100
Recent Posts
Last Online Feb 15, 2013 0:28:19 GMT
|
Post by Gordy on Aug 20, 2012 3:39:45 GMT
This is what you should end up with  Now we replace that center metal pin like this 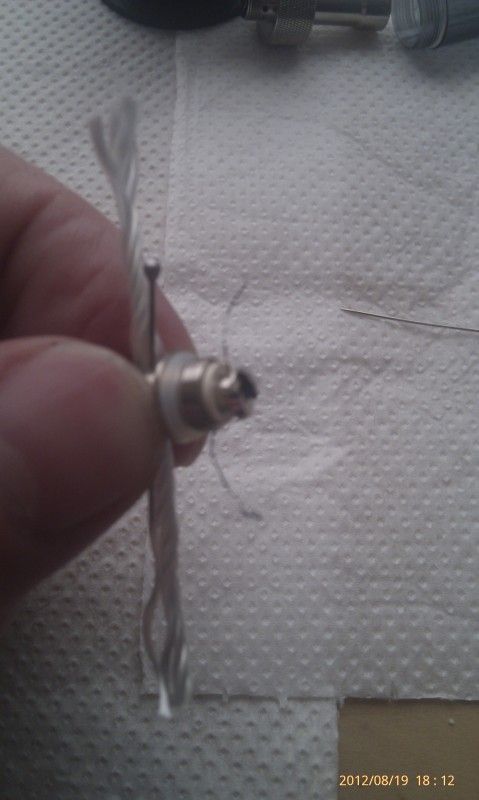 Remove the pin we used as a splint 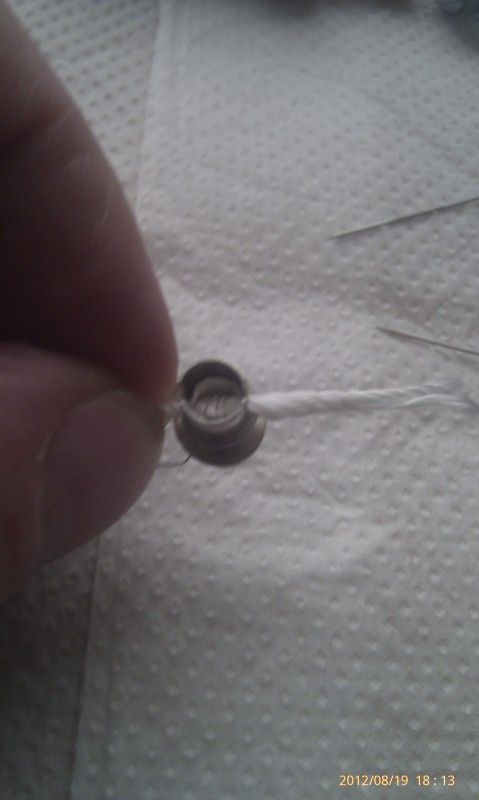 Now we need to tackle these trailing wires, just bend them up an down and they will snap off leaving a clean break with nothing protruding!  Like this  Now replace that rubber bung on the top section 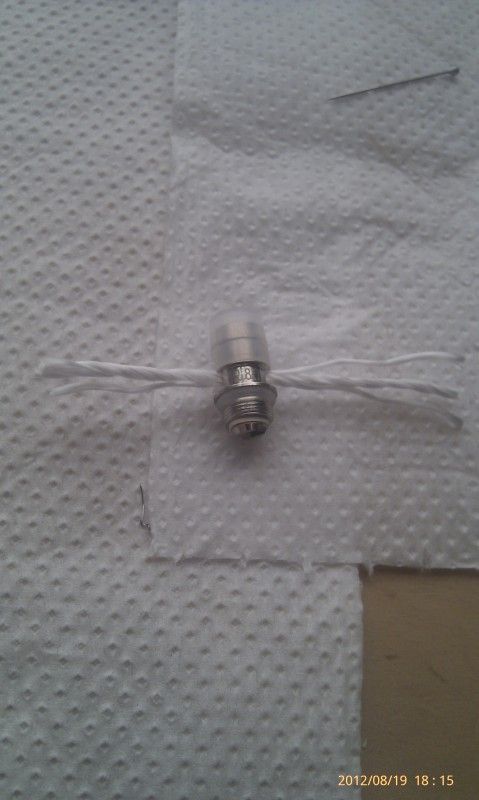 Put a little juice around the coils and screw it onto its center post, the attie says 2.8 in the post above but as you can see it's now a 2.0  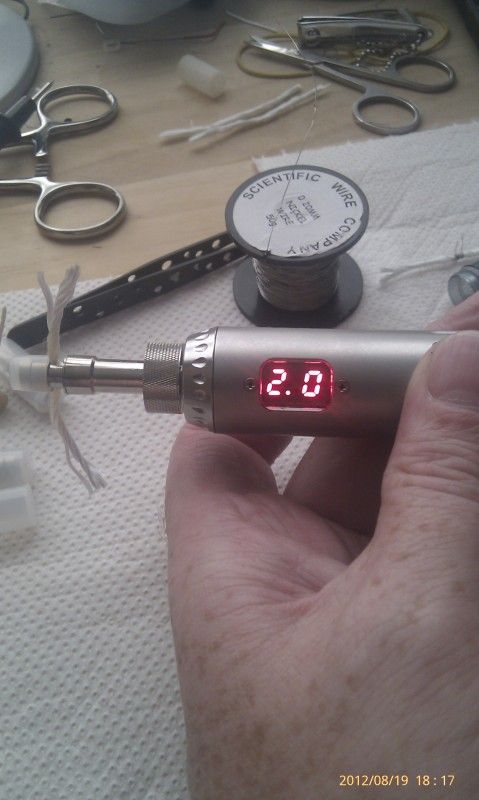 Set the wicks where you want them to go 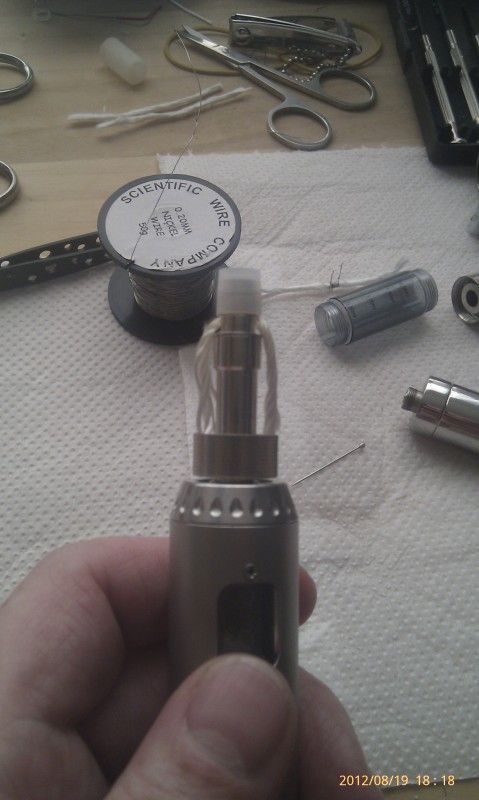 and replace the tank body 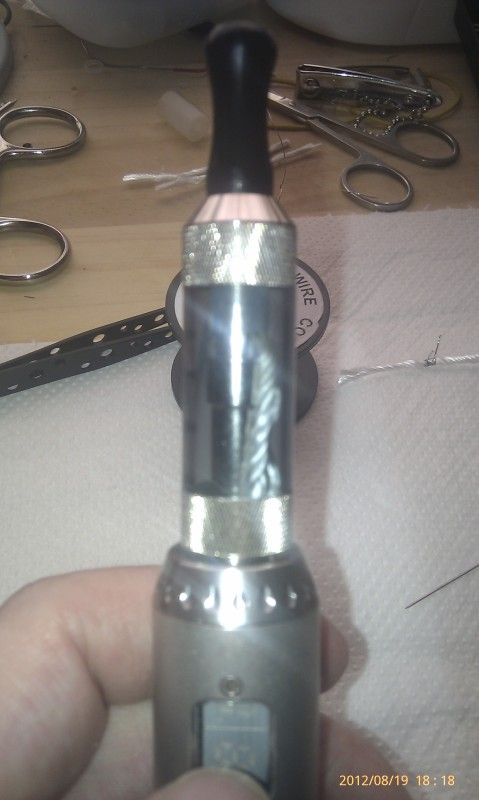 Fill with juice and you're good to go. .  |
|