igual
Super Member
 Guide Maker
Joined:July 2014
Posts: 3,402 
Location:
Likes: 2,874
Recent Posts
Last Online Jun 26, 2017 16:25:16 GMT
|
Post by igual on Dec 13, 2014 22:04:38 GMT
How to coil and wick the Rose v2
Tools:
Allen key for the rose
Tweezers pointy and heat proof
Scissors
Wire clippers or Nail clippers
Lighter or blowtorch
Screwdriver/ drill bit / mandrel. ( for this I am using a 3 mm mandrel) found here:
www.ebay.co.uk/itm/Beadsmith-2-Piece-5-step-Wire-Winder-Loops-Craft-Mandrel-Set-1-5mm-10mm-/361043583204?pt=UK_Crafts_JewelleryMaking_GL&hash=item540fdfe0e4
Kanthal I am using 0.32mm purchased from here:
www.vape-atomizer-mesh.com/products/Kanthal-A1-Heat-Resistance-Wire---0.32mm--320-Micron-or--28-AWG----20-Metre-Spool-2440.html
Organic cotton / rayon / Japanese cotton pads
Ohm meter or device that will read ohms
Something to vape on!
Please wash your Atty and dry before starting and clean your hands and work area.
Here is my setup. I am aiming for 1.8 ohms

We start by cutting a 15 cm ( approx) length of 0.32mm A1 kanthal wire.
And softening using heat source in my case a blowtorch.
You need to make sure that the wire glows a nice orange to guarantee its annealed correctly.
Use your heat proof tweezers/pliers to hold the wire and have something heat resistant like a plate to put the wire and hot tools onto afterwards.

Once you have annealed the wire we can begin to wrap our coil.
Using a 3mm mandrel I will be doing 8 wraps, be careful not to overlap the coils as you wind them and try to get them as close together as you can.
Hold the wire like this leaving a tail of at least 25 mm.
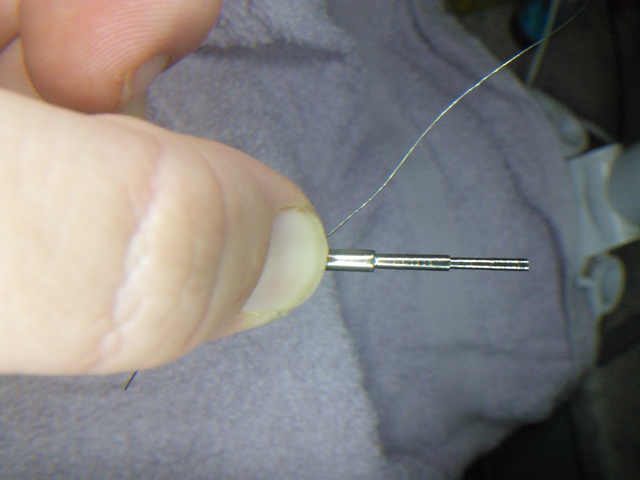
Grip the remaining wire with your other hand between finger and thumb about 40mm away from the mandrel and applying tension begin to wind your coil onto the mandrel.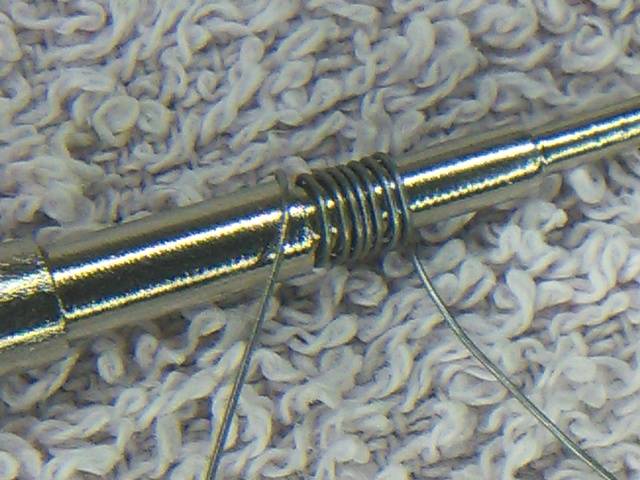 What you should have is something that looks like this. What you should have is something that looks like this.
Now slide the coil off the mandrel and put it on the other way round.
Pull tight on both legs and squeeze it against the shoulder of the next size up to get the initial shape of your coil.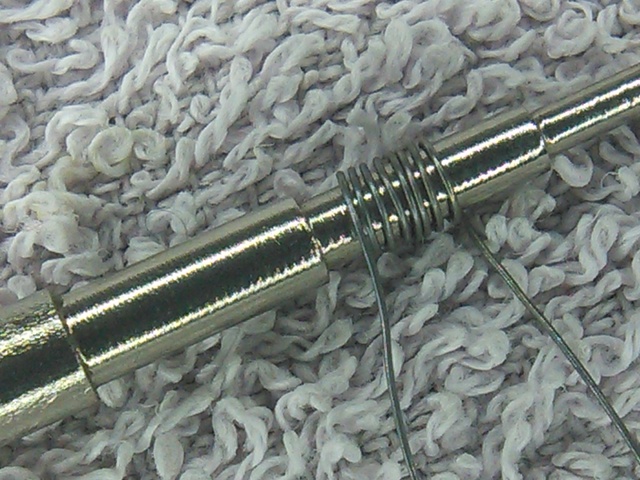 Now its time to play with fire again, remove your coil from your mandrel and place between your heat resistant tweezers/pliers ( caution if using pliers be careful not to crush the coil ) you can see here I have placed the coil further down the tweezers, this is to grip it evenly so the outer coils do not get pushed over the ones next to them. Now its time to play with fire again, remove your coil from your mandrel and place between your heat resistant tweezers/pliers ( caution if using pliers be careful not to crush the coil ) you can see here I have placed the coil further down the tweezers, this is to grip it evenly so the outer coils do not get pushed over the ones next to them.
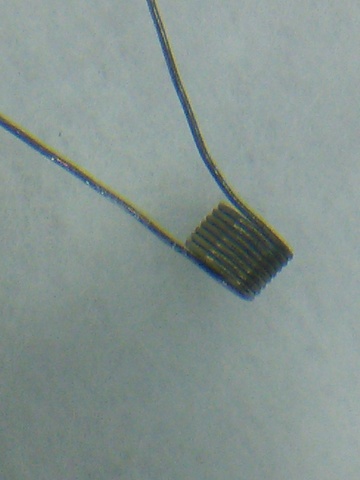
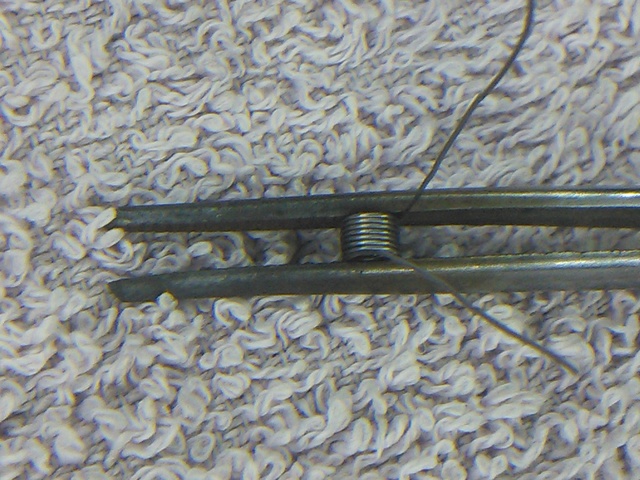 Heat using your heat source until coil is bright orange, hold this for a good 8-10 seconds ideally. Heat using your heat source until coil is bright orange, hold this for a good 8-10 seconds ideally.
Remember this will be skin sizzling hot DO NOT TOUCH for at least 1 minute and be careful where you place your hot tools  You should now have something that looks like this. You should now have something that looks like this.
Once your coil has cooled down its finally time to start assembly The Rose is quite a unique RBA in, it utilizes ceramic cups ( you can build it without but they do enhance the flavour of your juice significantly, particularly dessert's and tobaccos in my opinion)
Many people have struggled to get the length of the legs right so here is how I do this.
Firstly thread the legs through the 2 holes in the ceramic cup.
Use either the Allen key that came with it or something of similar size to set the height of the coil from the bottom of the cup. ( you can also wick the coil now and use the wick to set its height instead of the Allen key. ) I have not used that method but might be helpful to some peeps.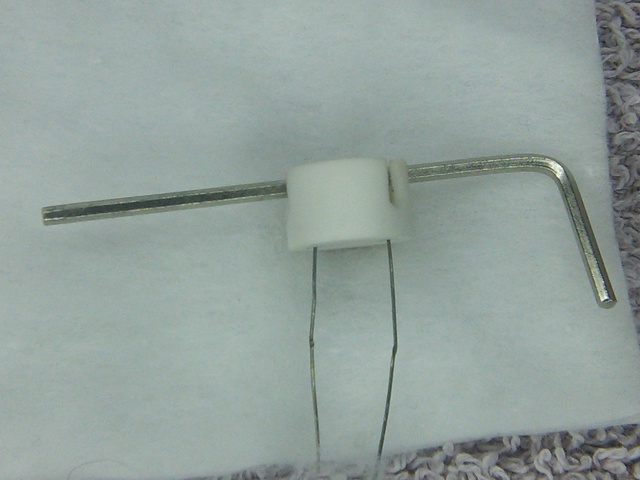 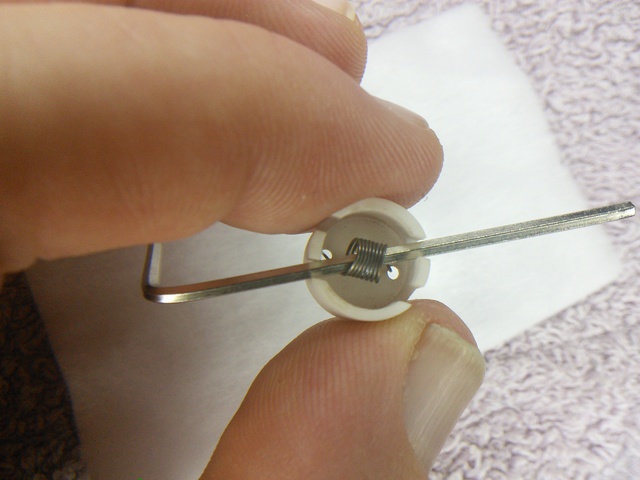 As you can see this locks the coil in nicely and enables you to work on the legs. As you can see this locks the coil in nicely and enables you to work on the legs.
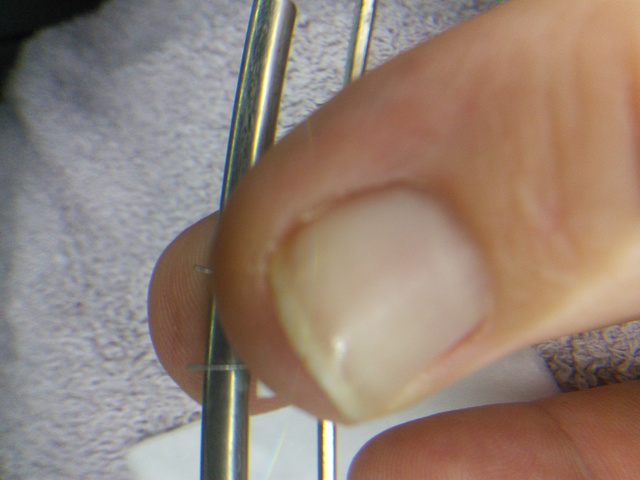
With the rose came the torsion bar place this under the ceramic cup and add 2 mm.
This is the length of the legs and where you will cut the wire
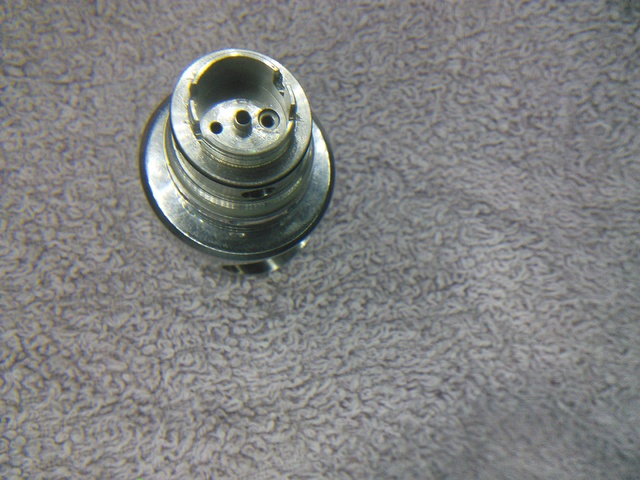
 Now straighten the legs as best as you can using pliers/tweezers/salad tongues. Now straighten the legs as best as you can using pliers/tweezers/salad tongues. 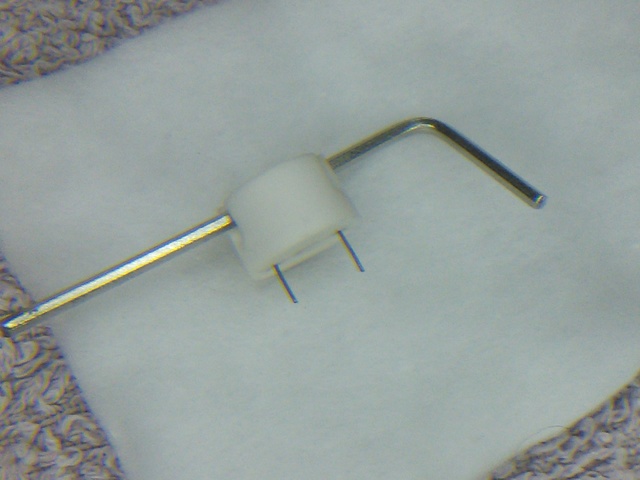 Screw your Rose Atty head into its stand if you have one or onto your ohms checker. Screw your Rose Atty head into its stand if you have one or onto your ohms checker.
And then insert the ceramic and coil into the holes
 [/ur l] [/ur l]
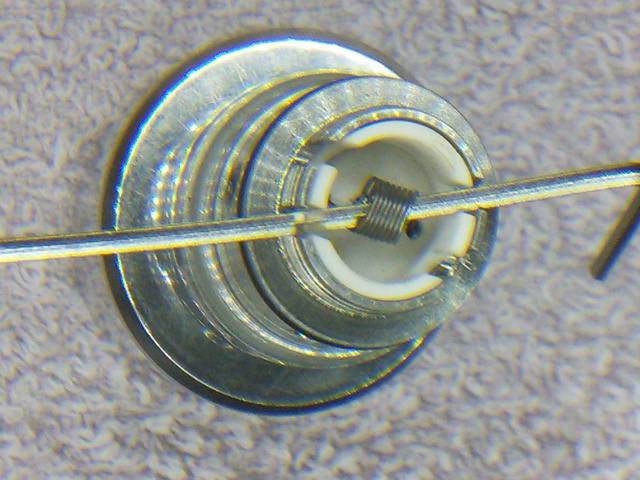
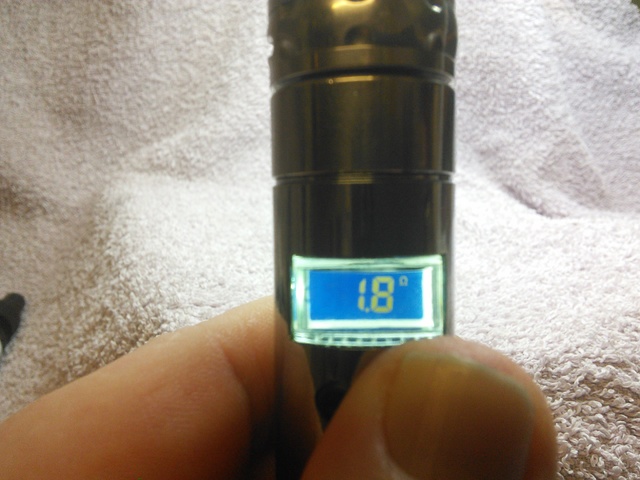
You can now remove the Allen key and the coil should stay at roughly the same height. Now go ahead and tighten the grub screws up on each side little by little on each screw until its tight, also place your thumb gently over the coil to mitigate some of the inevitable movement. ( using a longer coil will lessen this ) go ahead and put on your ohms checker if all is well you should have 1.8 ohms. Now go ahead and tighten the grub screws up on each side little by little on each screw until its tight, also place your thumb gently over the coil to mitigate some of the inevitable movement. ( using a longer coil will lessen this ) go ahead and put on your ohms checker if all is well you should have 1.8 ohms.
If all is well put on a mod and fire the coil have tweezers/pliers at hand to give the coil a squeeze.
You want to pulse the coil to orange take finger off fire button then squeeze.
The coil should glow nicely from the middle to the outsides with no yellow/white hot areas( hot spots ).
If hotspots occur repeat the above step pulse squeeze poke etc to make coil nice. Once you are happy with your coil its time to wick it. Once you are happy with your coil its time to wick it.
Depending upon what wicking material you choose be it organic cotton wool, rayon or jap cotton pad.
The process from here is pretty much the same I will use Japanese cotton pad as it's my preferred wick for the Rose rayon is a close second.
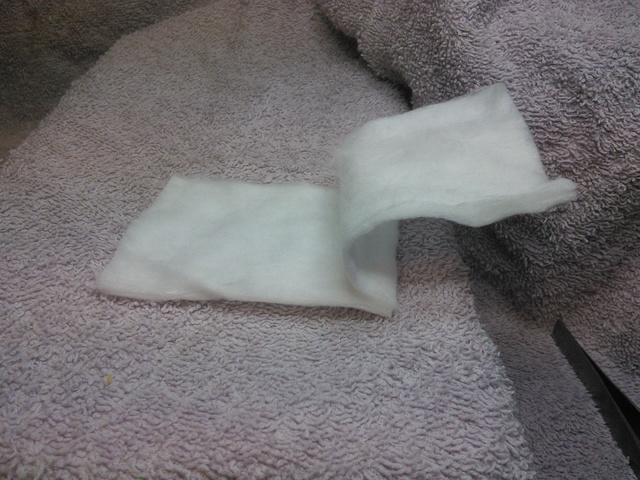
Split the cotton pad in half
Then taking one of the sheets cut a 8-10mm strip off and roll one end to a fine point.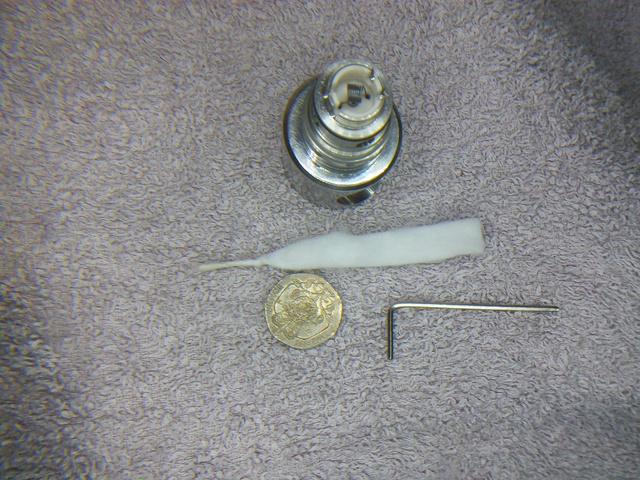 Feed the wick through the coil ( sometimes shipping the point off can help ) use tweezers here to grab the other end and tease through, there should be a little resistance but not much if the coil is moving you have to much wick. Feed the wick through the coil ( sometimes shipping the point off can help ) use tweezers here to grab the other end and tease through, there should be a little resistance but not much if the coil is moving you have to much wick.
Do not pull it through the slots as we will do that next.
Once threaded it should look like this: Now use your scissors trim the wick son there is about 10mm overhanging and cut the wicks in half lengthwise. Now use your scissors trim the wick son there is about 10mm overhanging and cut the wicks in half lengthwise.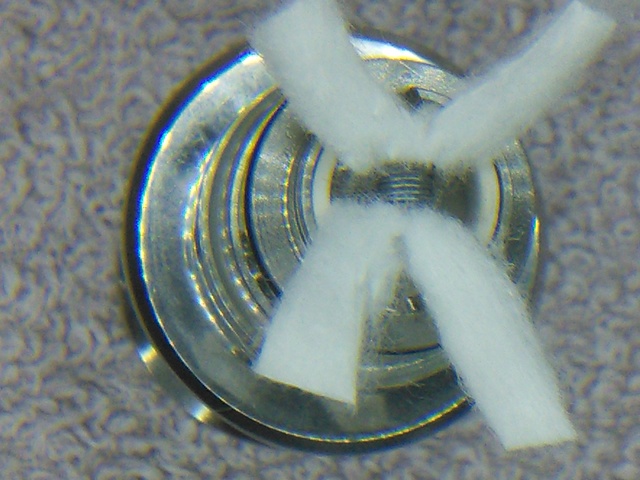 Once you have 4 tails twist one tail at a time so they are lengthways orientated and slot/poke/tease into the juice slots. Once you have 4 tails twist one tail at a time so they are lengthways orientated and slot/poke/tease into the juice slots.
Trim at an angle leaving 2mm at the base merely flush at the top. Make sure to trim all 4 tails.  Recheck your ohms and if all is good apply a little e-liquid to the coils and wick. Recheck your ohms and if all is good apply a little e-liquid to the coils and wick.
Give it a test fire.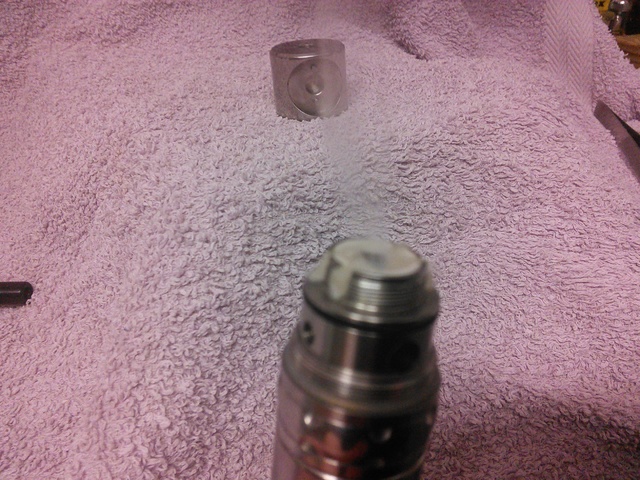 Re assemble your tank making sure to pull the drip tip out fully so bottom of tank is sealed. Re assemble your tank making sure to pull the drip tip out fully so bottom of tank is sealed.
Fill with your favourite juice.
You will need to screw the base on whilst the tank is still upside down.
Once the tank is screwed on to the base keeping it upside down push the drip tip/juice control up and screw that in about halfway 3/4 turns.

Turn everything back up right way, check your airflow is set and you are good to go.Amount of wick needed for rayon and cotton are slightly different cotton wool likes to be able to slide through coil with virtually no resistance.
Rayon likes to be a little tighter.
With all wicking materials they will vary batch to batch manufacturer to manufacturer.
There is a little trial and tribulation with getting the perfect wick.
I hope this guide is of help
All the best
Martin
Aka igual.
|
|


