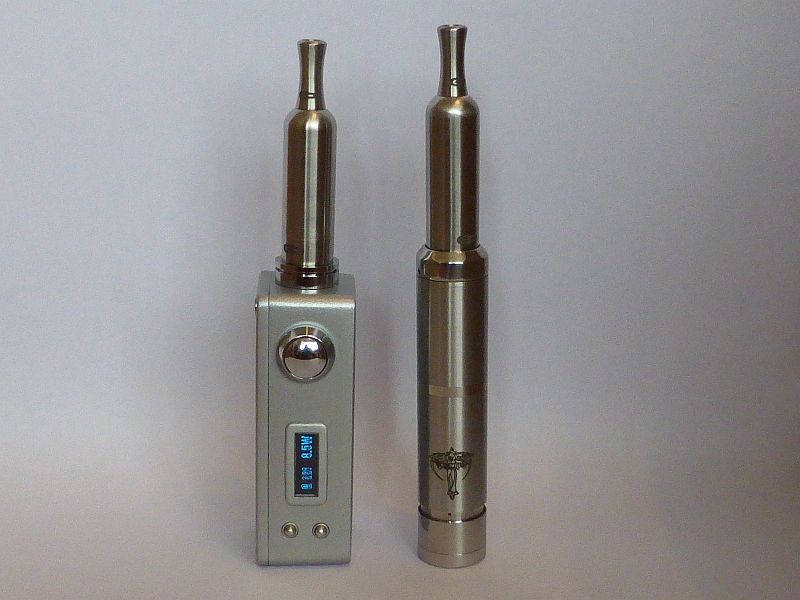
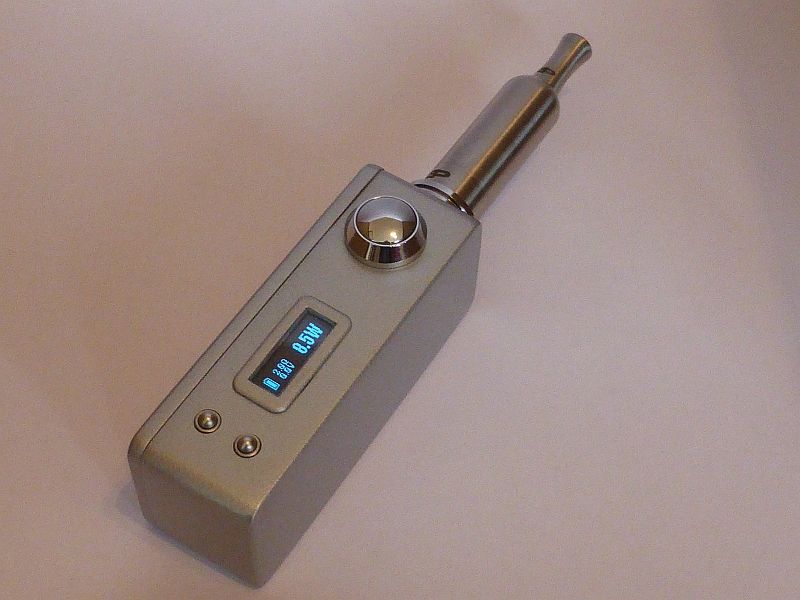
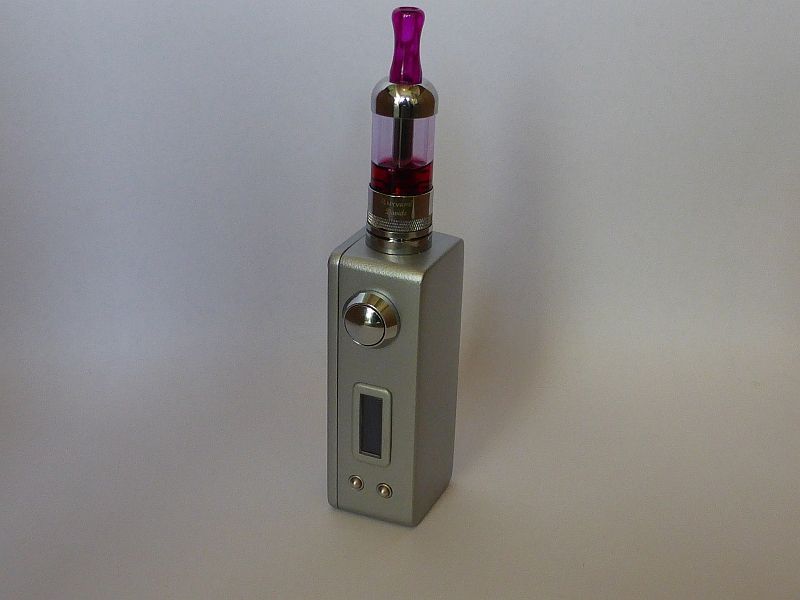
Well here it is, my new box mod......
 Features:
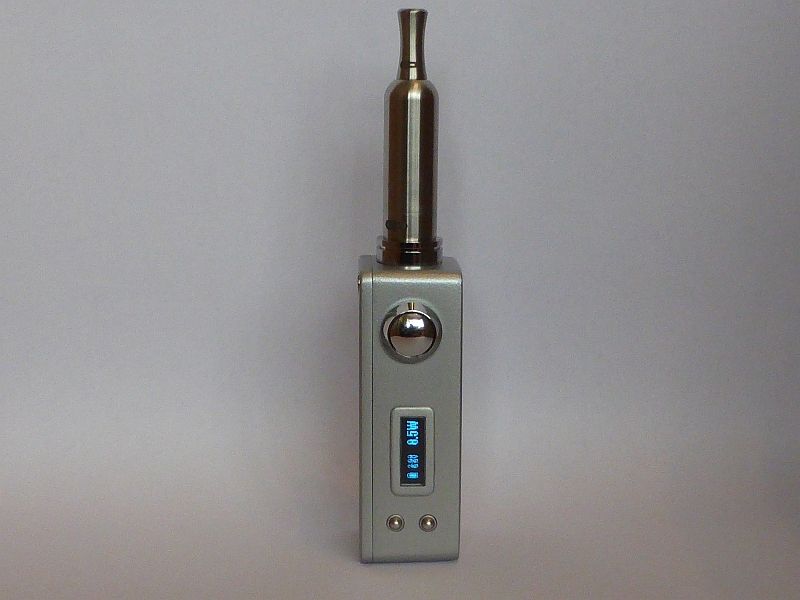
DNA20D board by Evolv
7 too 20 watts
Digital display with extra protective cover
18650 Battery
Top base with airflow control for certain atomizers
Removable top base so if the center pin fails you will be able to remove the base and de-solder the 510 center pin and re-connect a new base and just screw back in, no need to take the mod apart for fixing
Dimensions: Height: 89mm - Width 35mm - Depth 30mm
Aluminum finish using metal alloy wheel spray
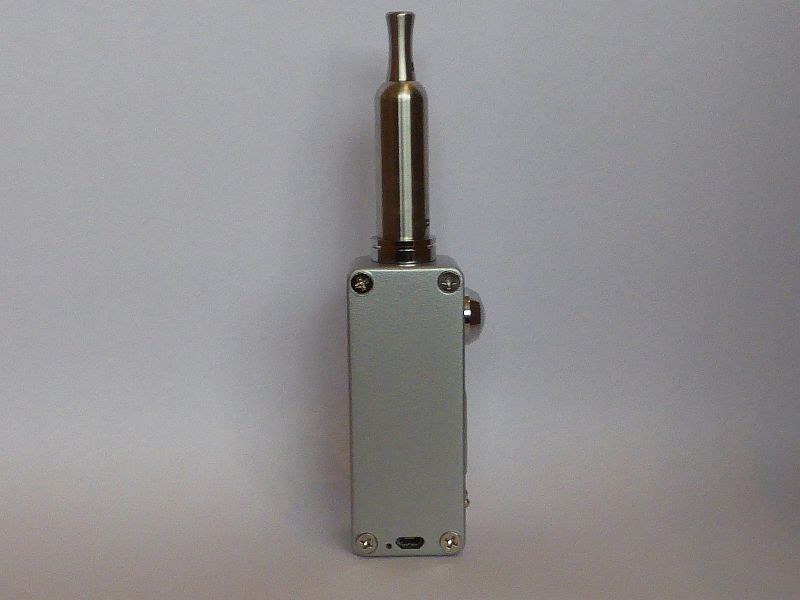
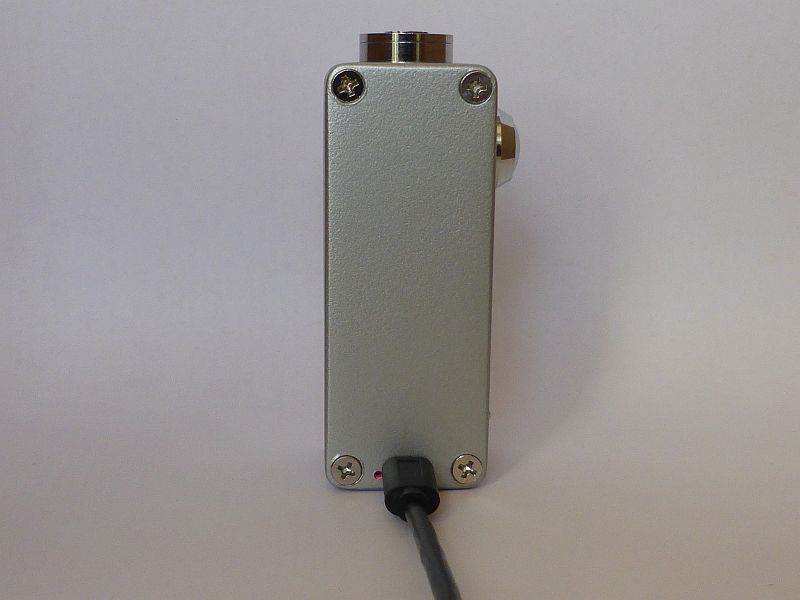
USB charging
Building:What can i say, this was a PITA to build, (i have even lost weight out of stress with this one) not the parts or anything like that but getting it all in such a small box, thinking ahead with this mod was the key, the battery holder had more plastic surgery than Pamela Anderson, i was going to go for 3 buttons all the same size but decided that the firing button should stand out as it is the one thing that will be used more often than the others.
I was also unsure on the top base size but thought of the benefits, removable and fixable pin and also has airflow for them atomizers out there.
My main concern for the top base was that i wanted something that can easily be removed without taking the whole thing apart, in theory you can just unscrew the base and pull out the wire that connects to the center pin and de-solder and replace the top base if you ruin the center pin as the negative pin is not attached to the base, it is attached to the bolt on the inside of the box to a bolt that holds the base in place.
Another plus for the airflow control base is when a atty like a kayfun is fitted that does not rely on bottom airholes you can just un-screw the top cap to fill the gap if there is one.
The only thing that i had to adjust with the base was to replace the center pin for a better one that can be soldered.
Every soldered connection has been cleaned with 99% alcohol and sealed with either heat shrink tubing or Kapton tape.
For the box i first made all the holes and then sanded down the box with 230 grit sandpaper and then cleaned with 99% alcohol and then coated the case with primer
Getting the finish to my liking was a lot of work with the sandpaper but worth it in the end.
Also sanded down the frame for the DNA20 screen and gave it a coating of primer and aluminum spray paint and then matt protective lacquer, also fitted a protective window.
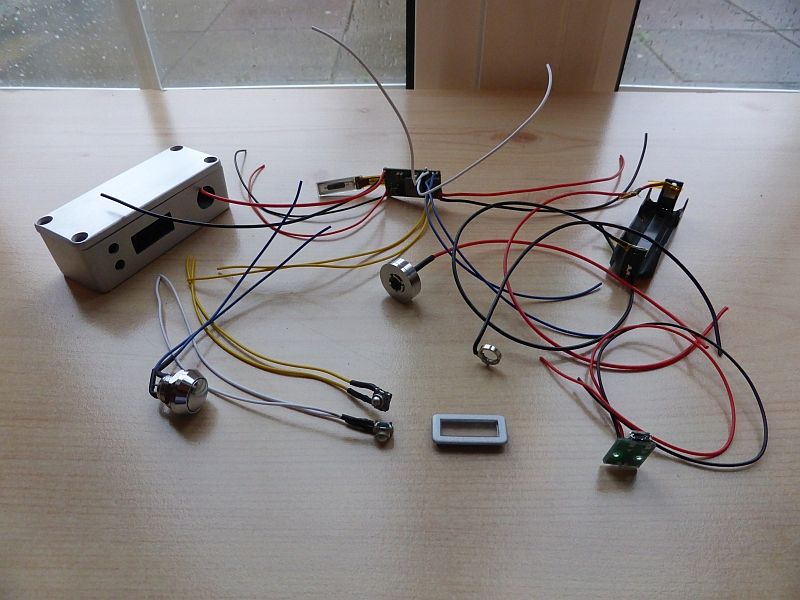
Once this was done i then soldered wires too:Firing button
Up and Down buttons
USB charger (and also epoxied a small bit of Lexan to the back of it so it will stick better to the case)
Battery holder
510 base and the bolt that holds it in place
Then fitted into the box:DNA20 with frame
Firing button
Up and Down buttons
USB charger
Battery holder
510 base and the bolt that holds it in place
All epoxied and Kapton taped where appropriate.
Then soldered all the wires to the DNA20 board and fixed the DNA20 into place into the frame and fixed the display with some hot glue.
The only real hard bit is getting it all into the box......this was not easy but would of been a lot harder if the NOT thinking ahead was not done.
Once all things are epoxied down and connections covered with Kapton tape and all fitted into place it was time for powering it up.
Before doing so i checked all connections with a multimeter and all looked fine.....getting nervous now.........
Time to put the battery in..................and wool-ah....it fired up and is working absolutely perfect.
Here it is in all it's glory..........Sorry
Greigster it's not a wooden mod

and NO
Roscopecotrain that is not my davide with pink drip tip

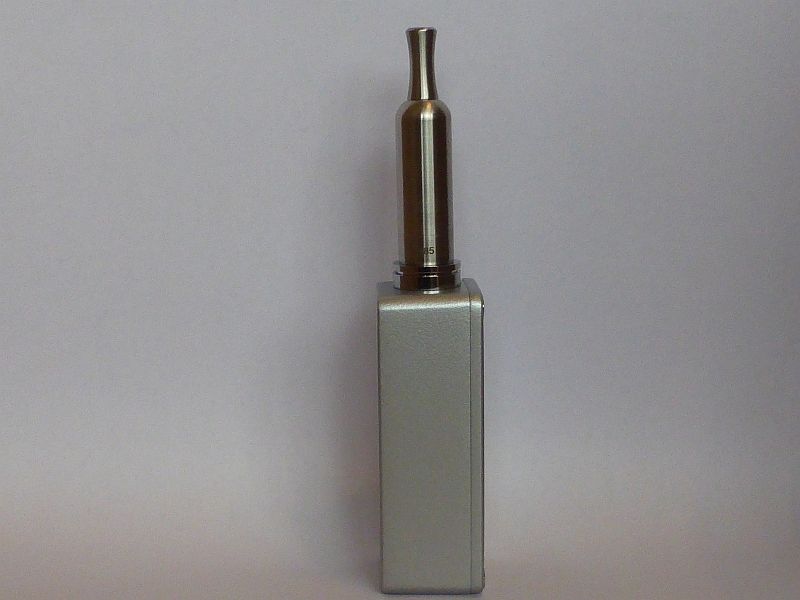
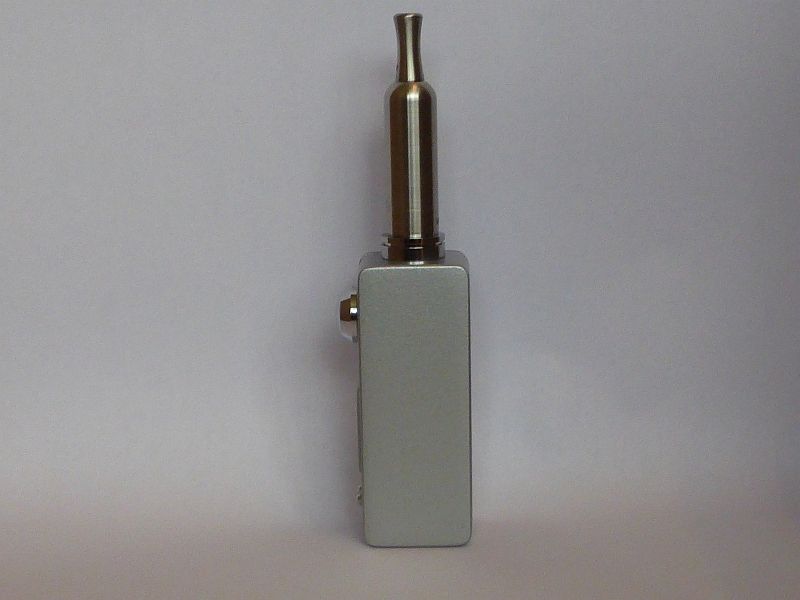
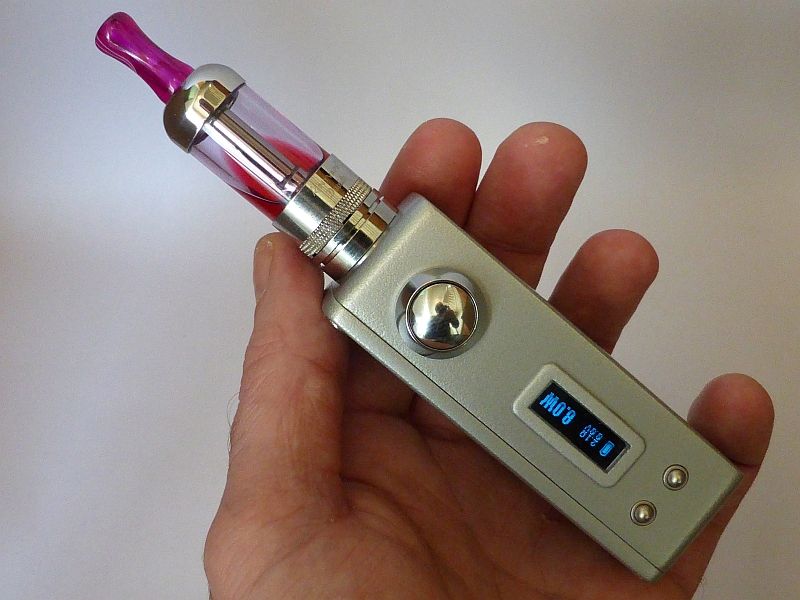
Size compared to a nemesis:
